Step 1: Go to Google Cloud Console
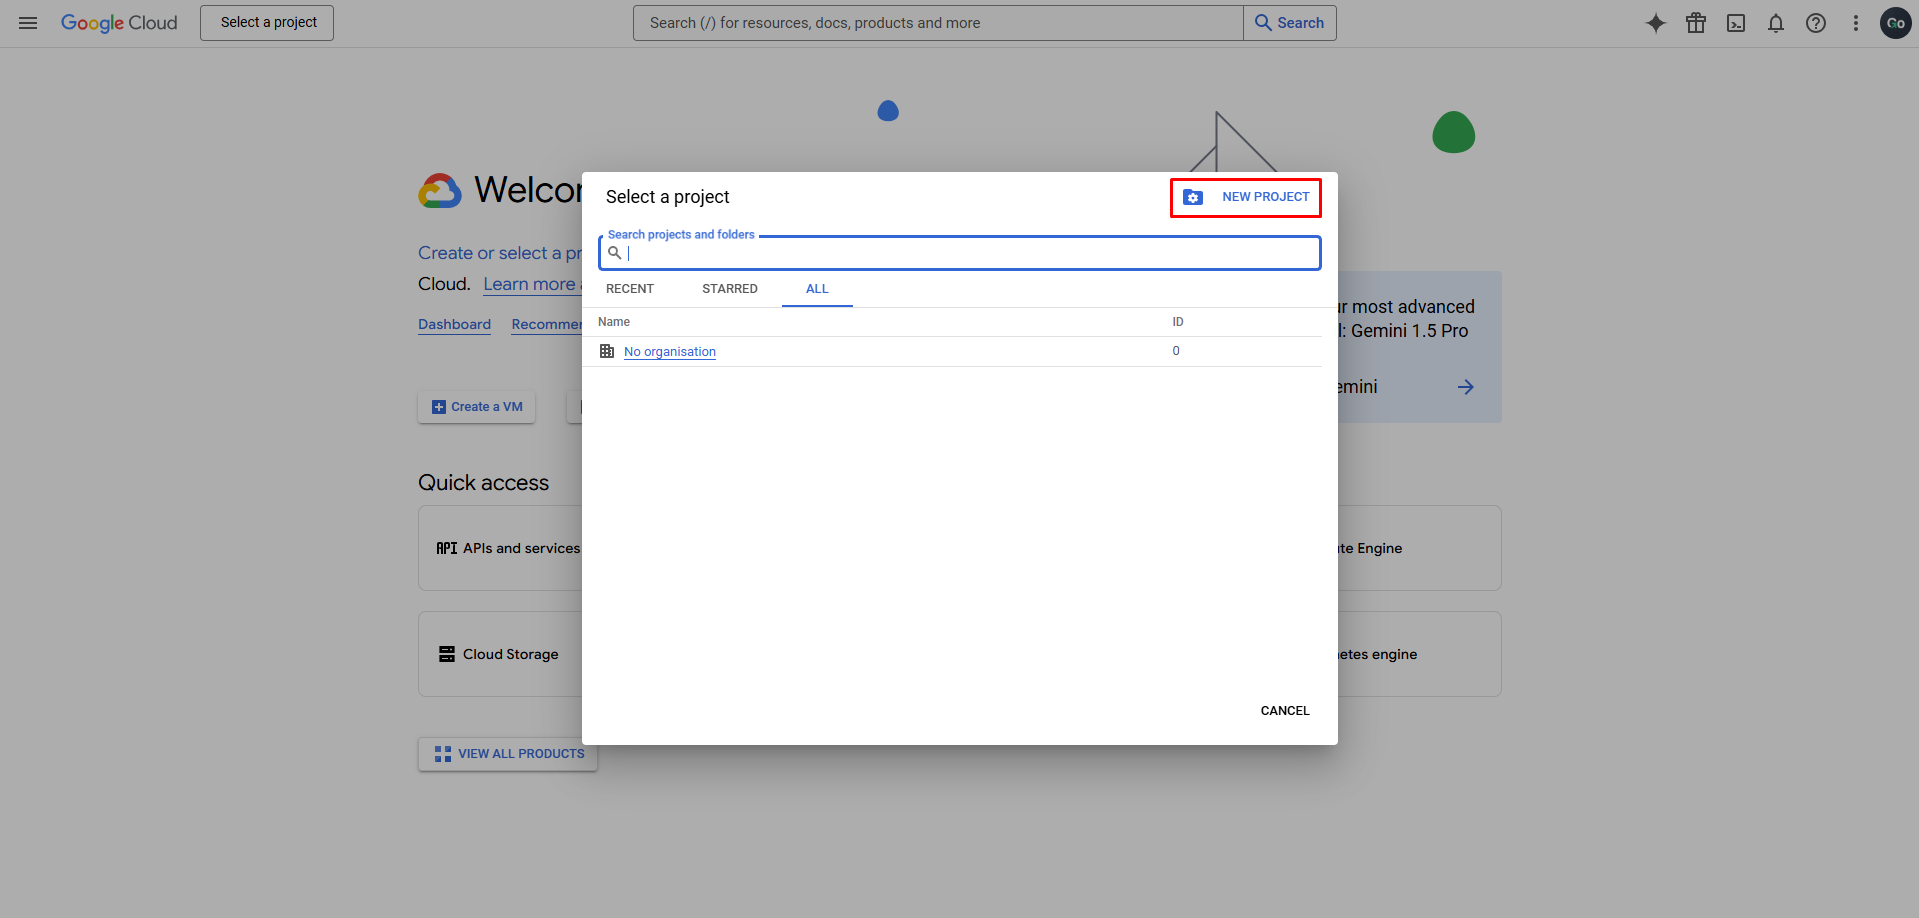
Step 2: Click Select a project button in the top navigation bar

Step 3: Click New Project button
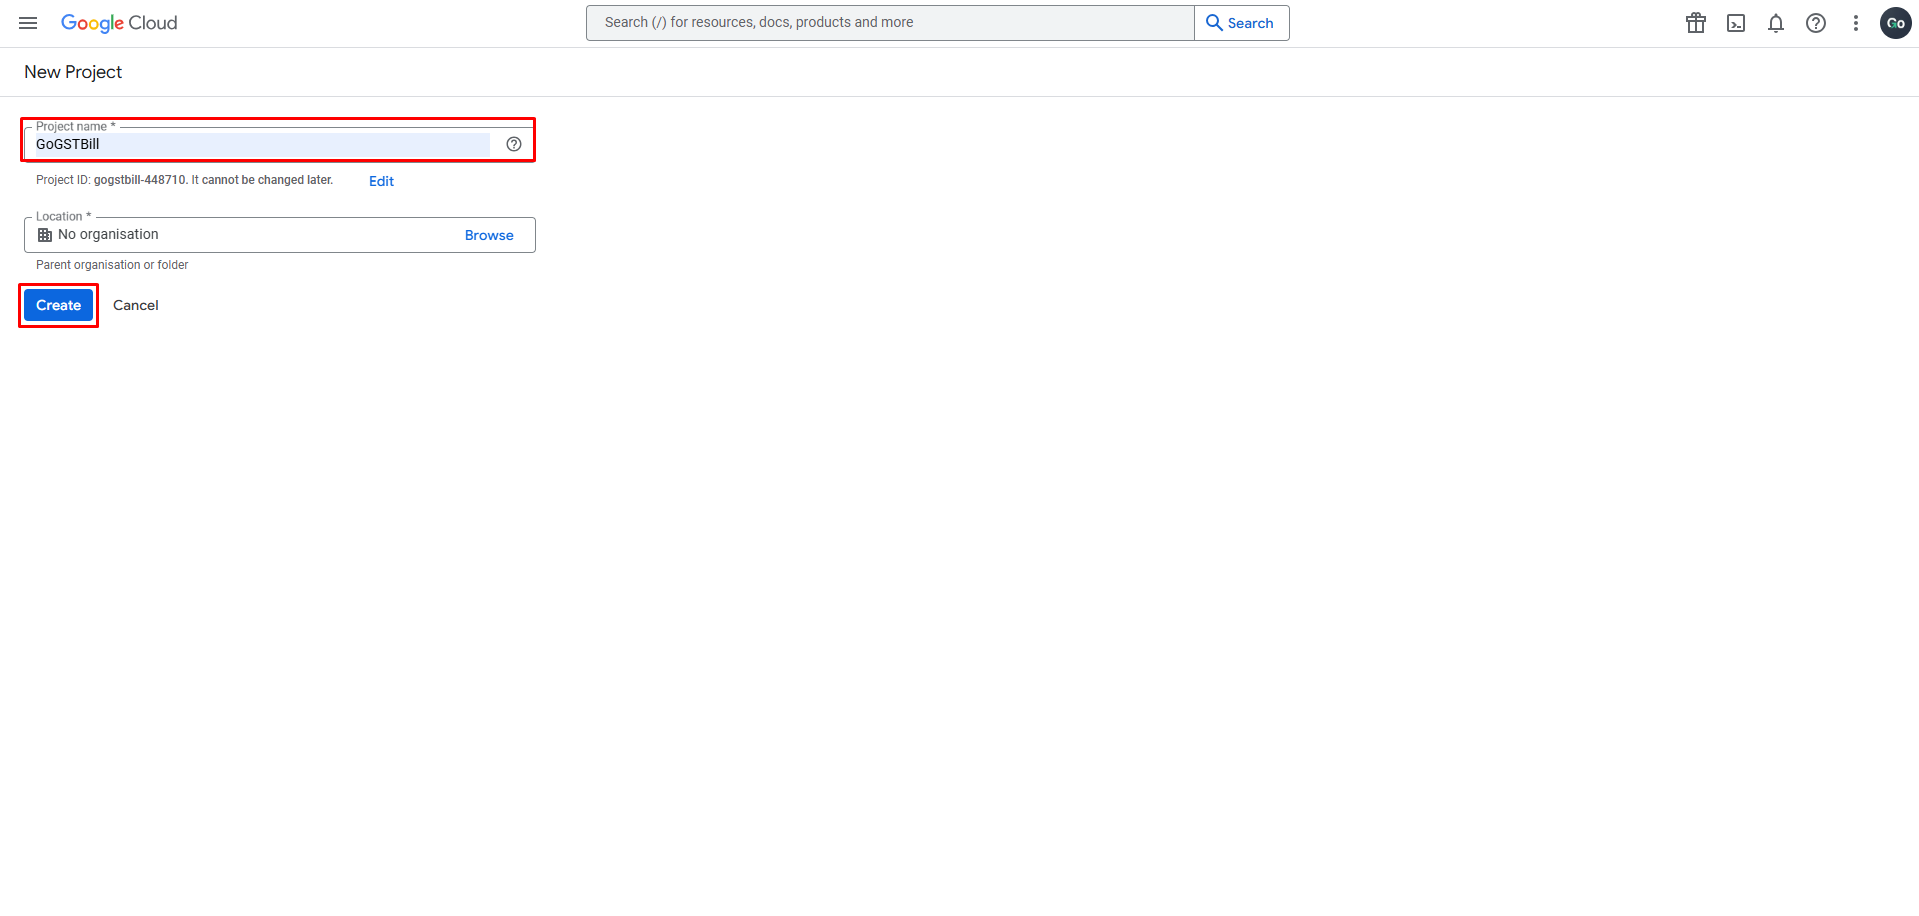
Step 4: Enter “Go GST Bill” in project name and click Create button
Step 5: After creating the project, click Select Project

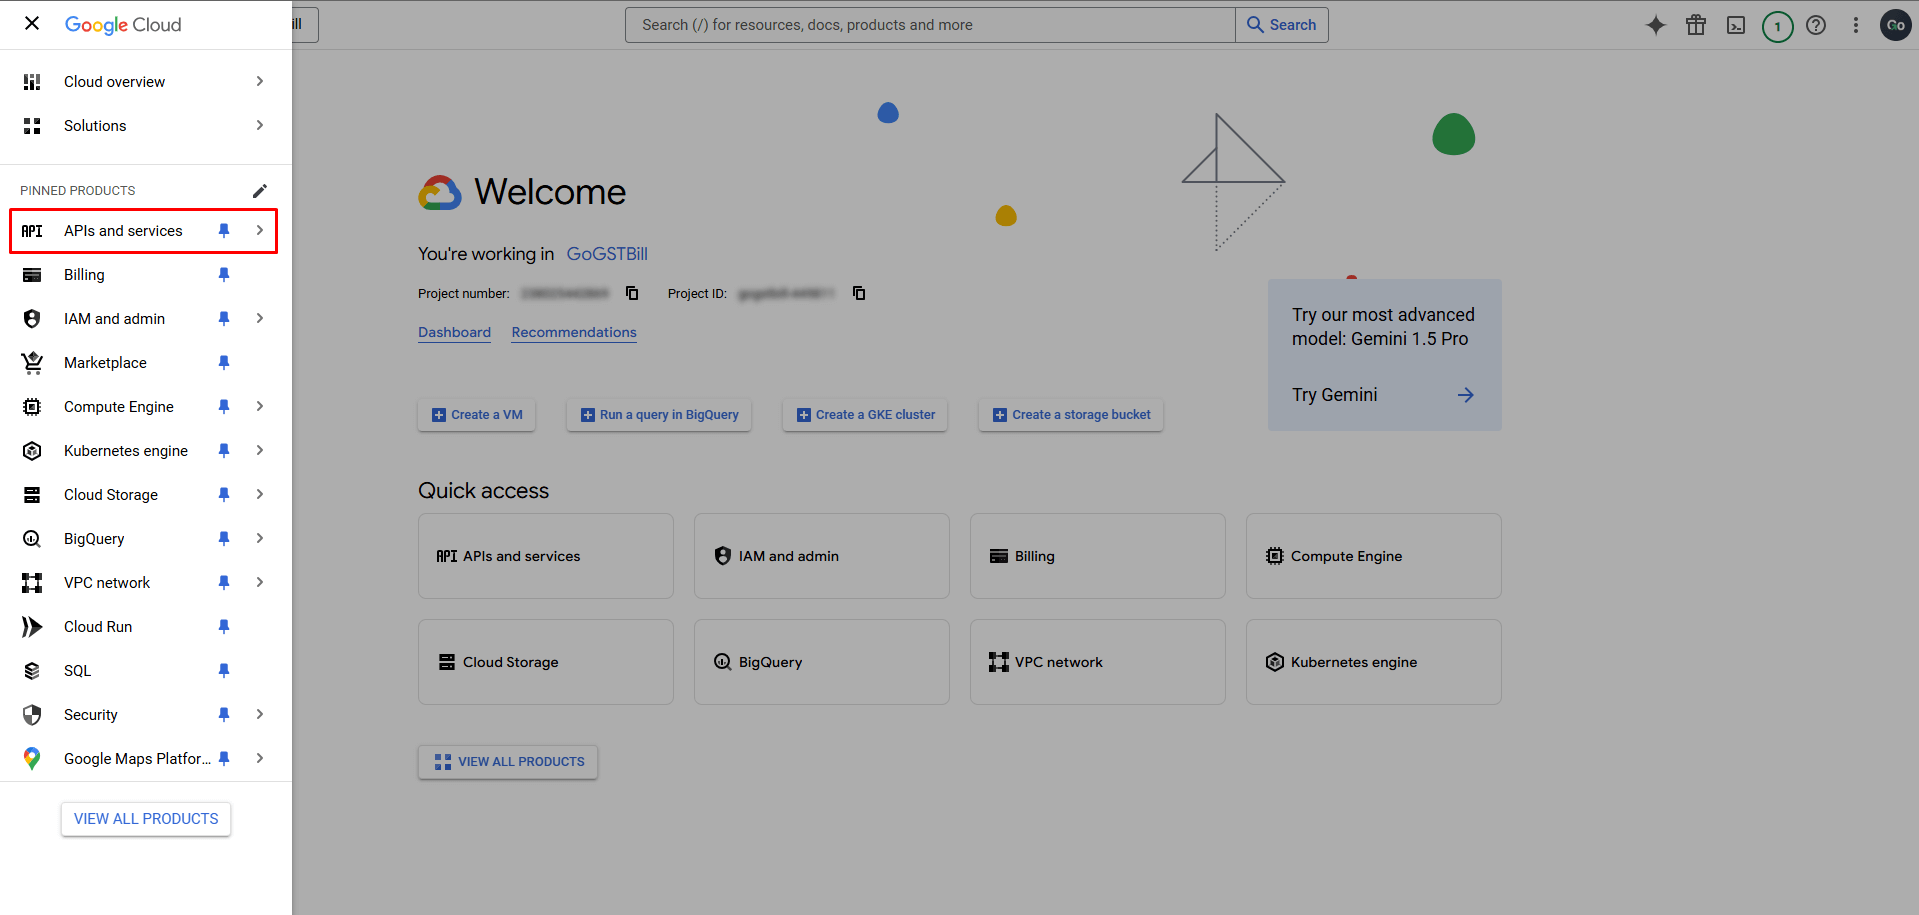
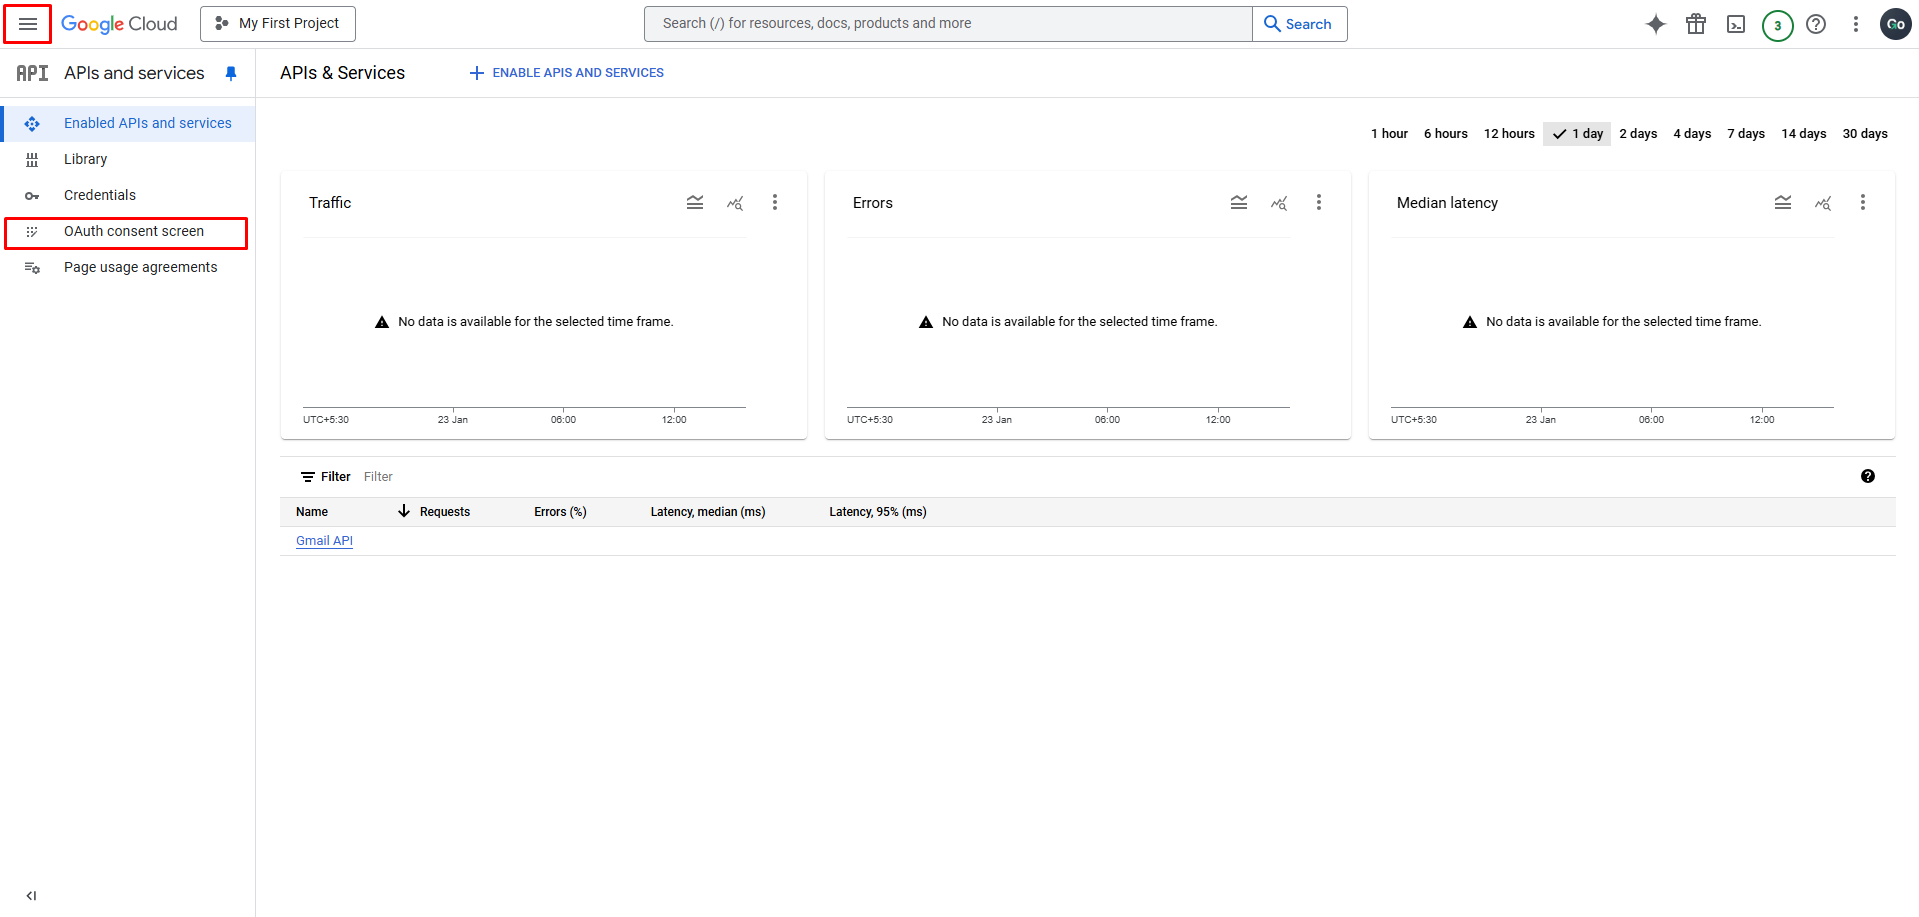
Step 6: Open menu by clicking top left menu button and select APIs and Services
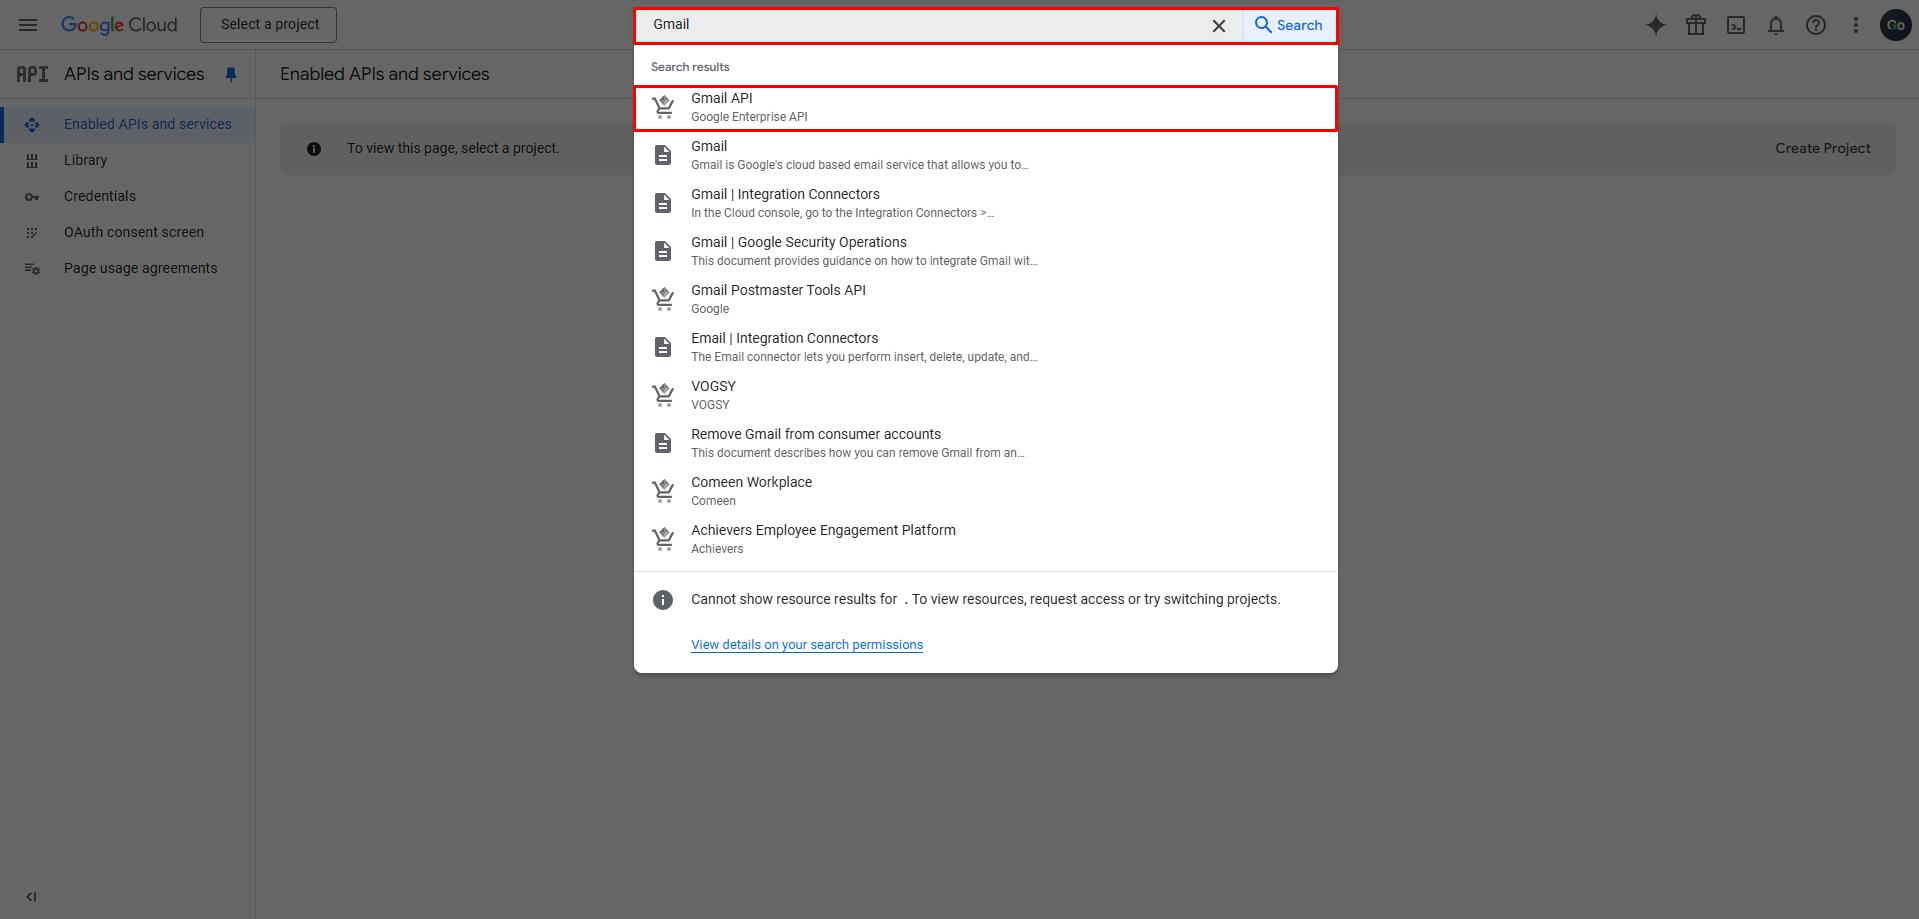
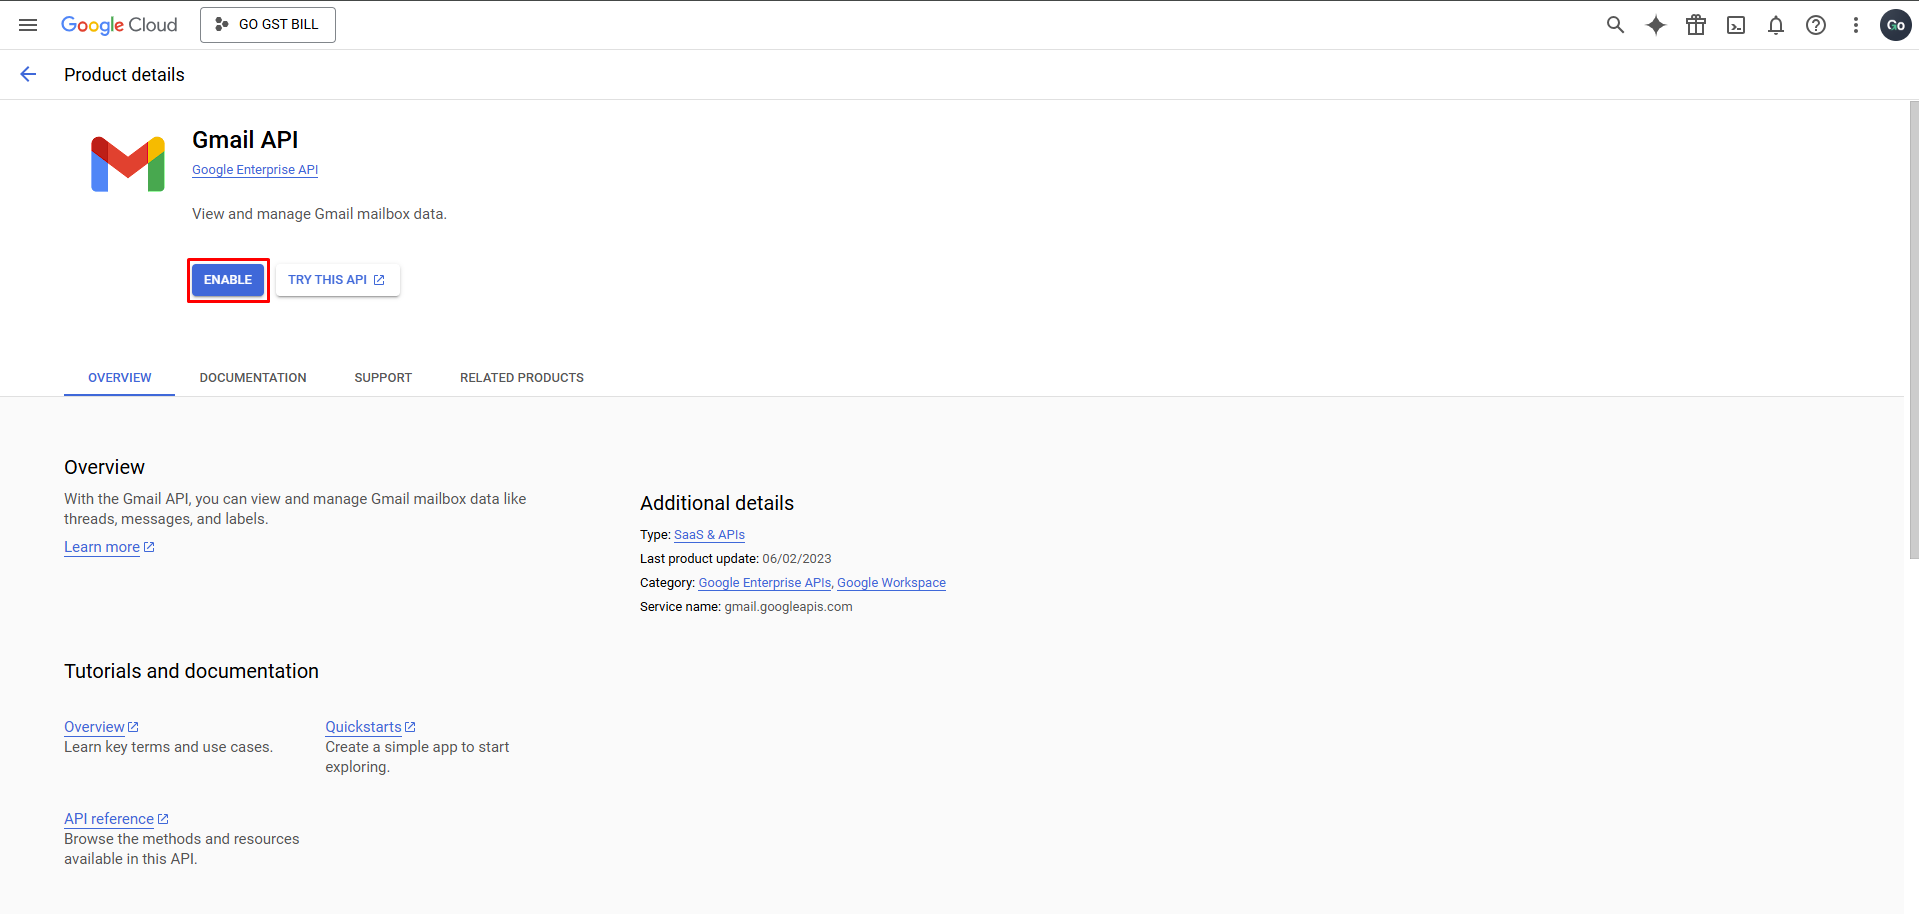
Step 7: Use the search bar to find Gmail API, then click on it
Step 8: Click the Enable button to activate the Gmail API
Step 9: In the sidebar, click on OAuth consent screen
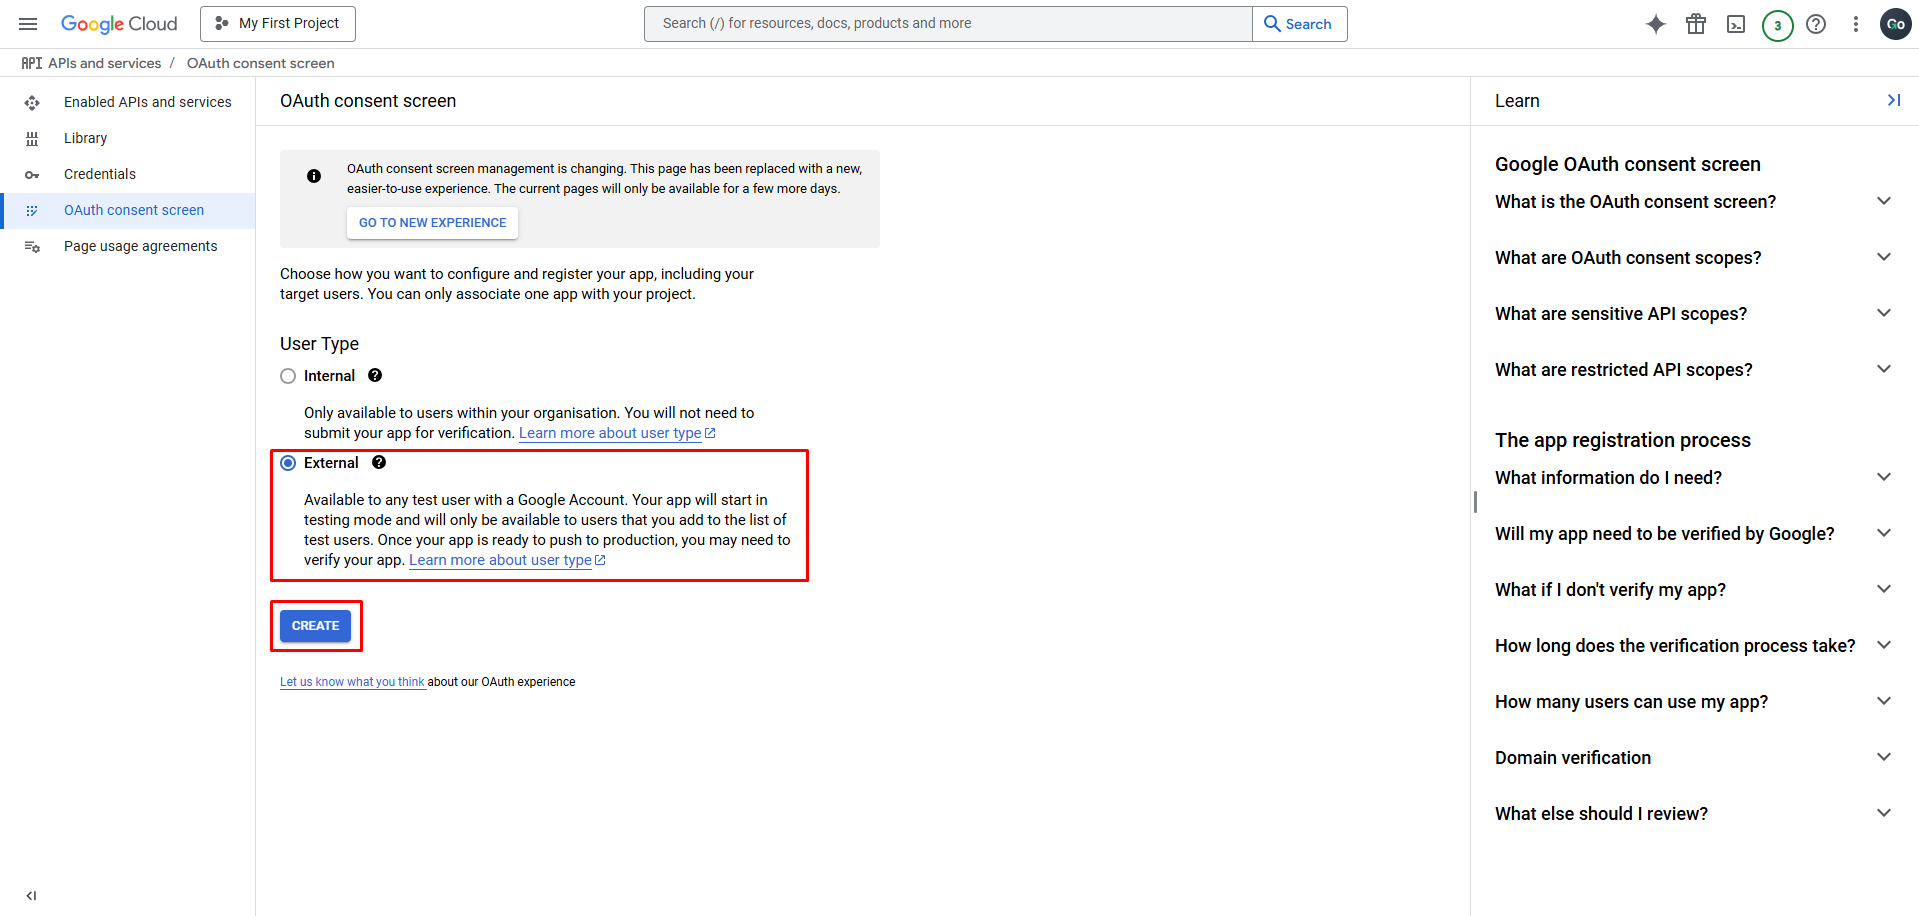
Step 10: Select External as the user type and click Create
Step 11: Enter “Go GST Bill” in App Name field, and select your email in User support email dropdown
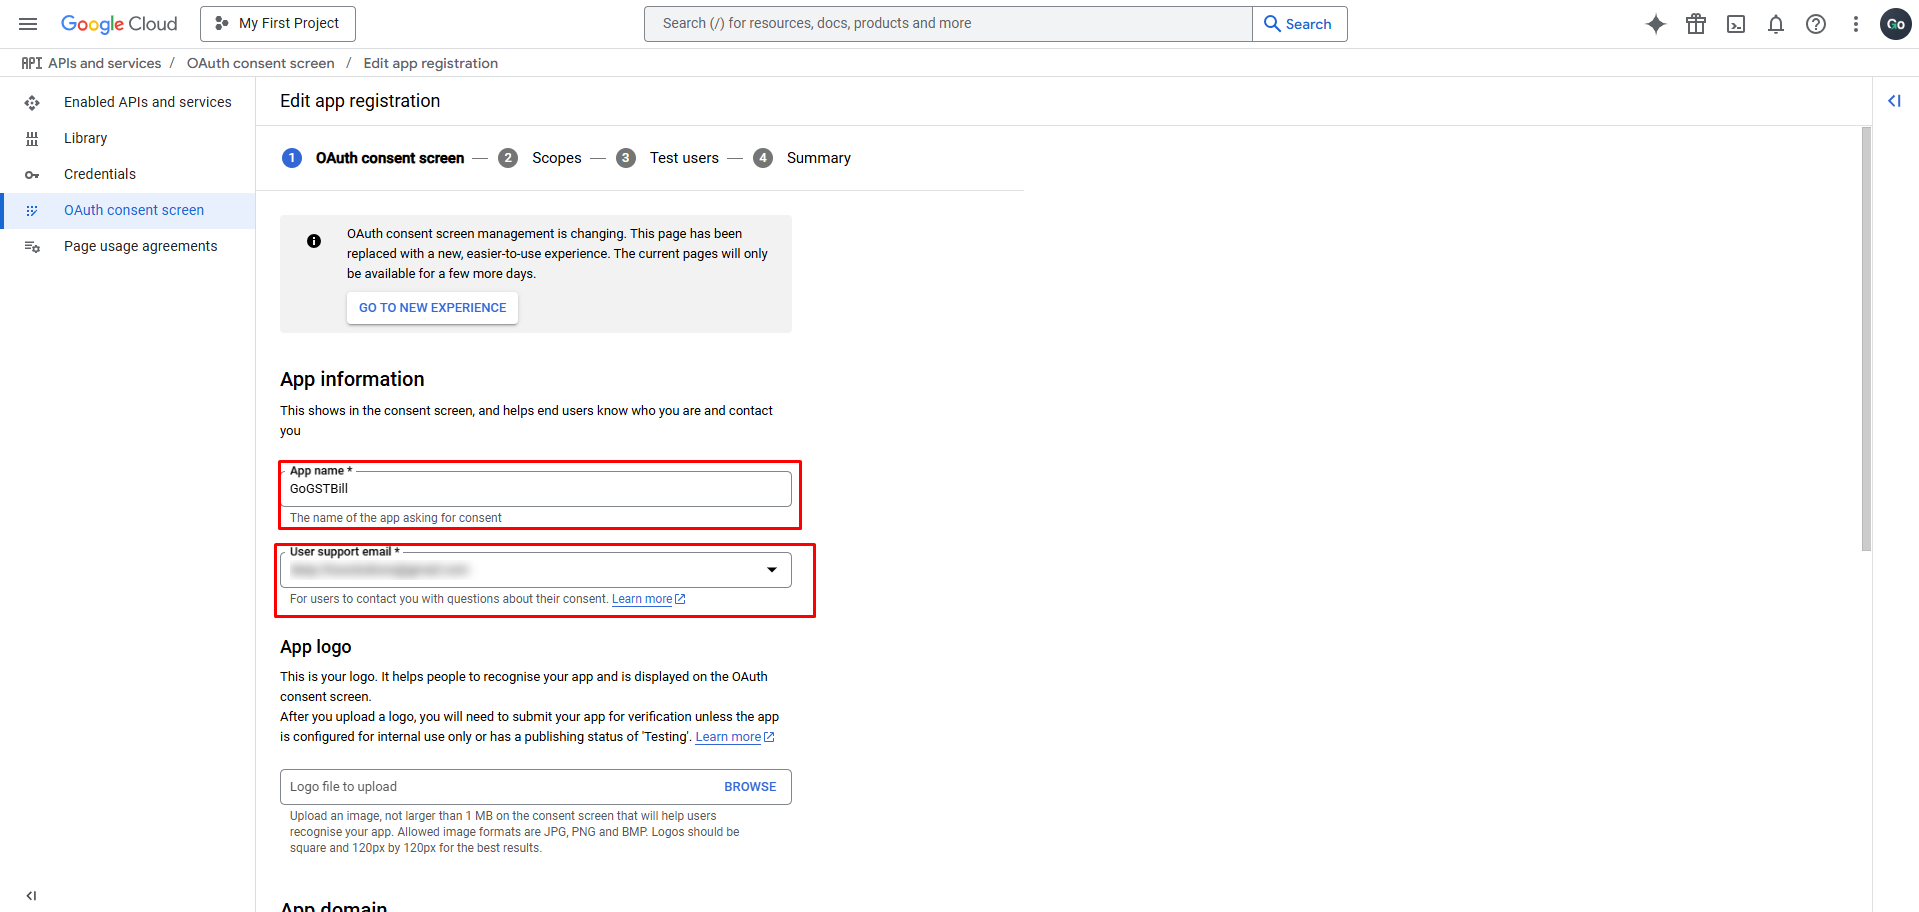
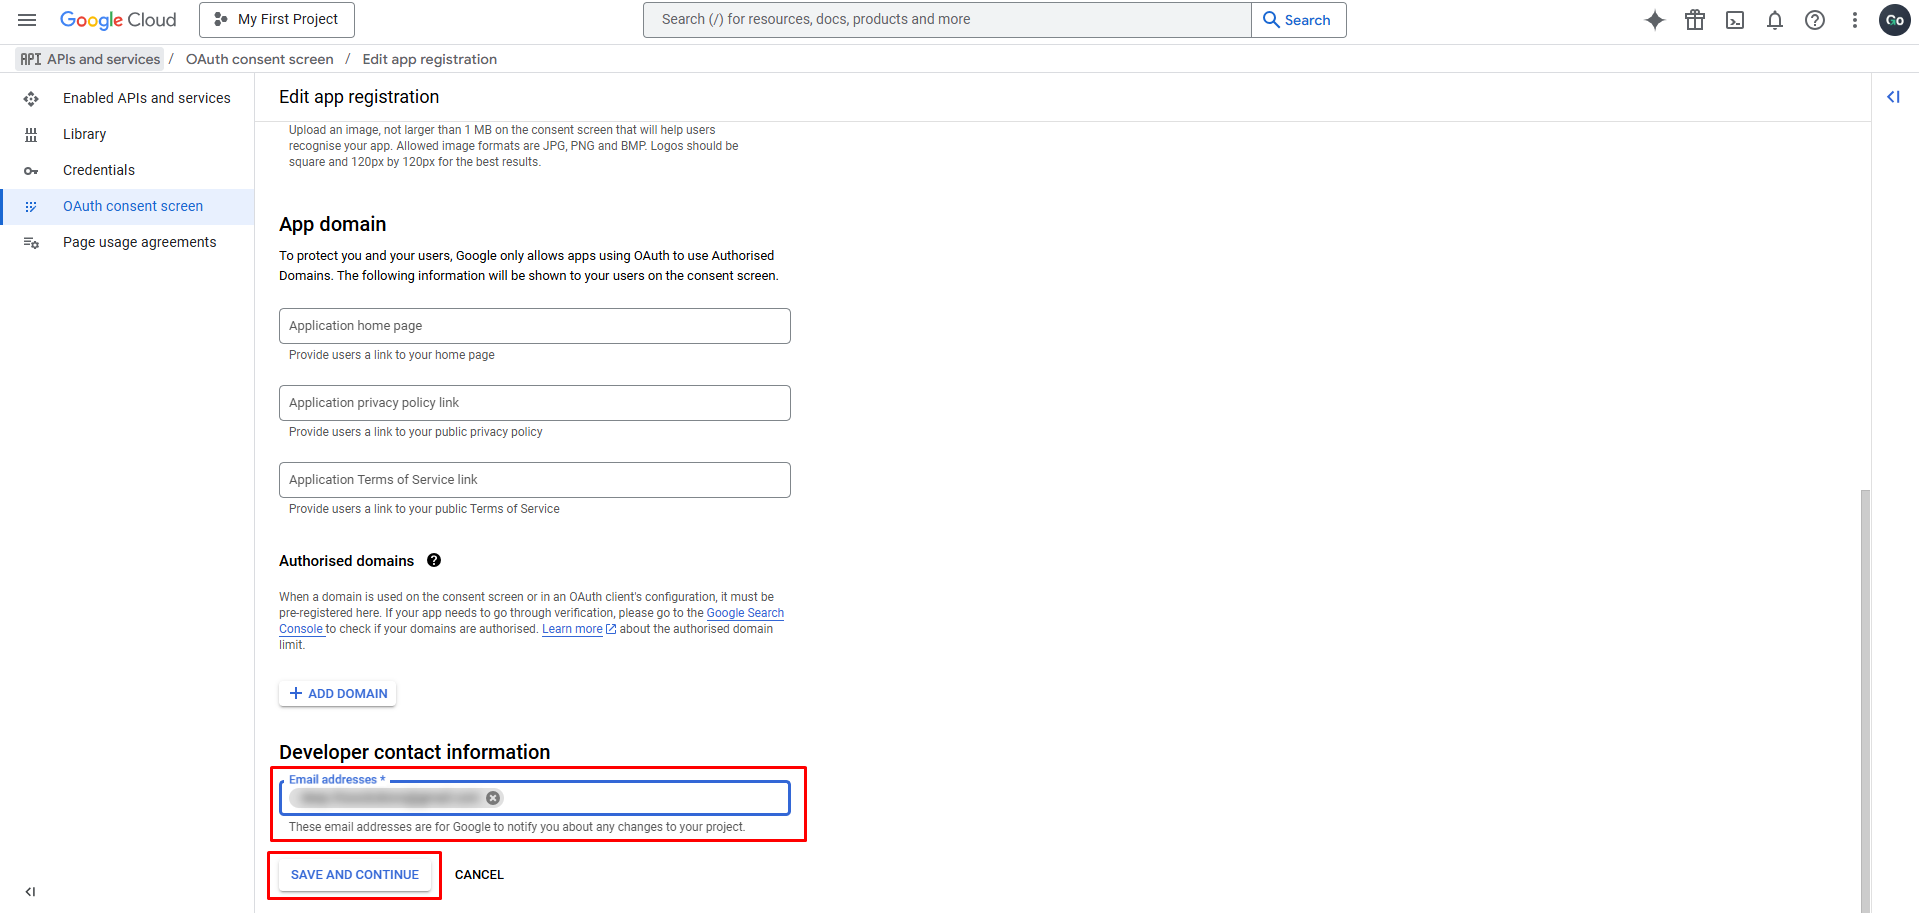
Scroll down to “Developer Contact Information” section and add your Gmail address in Email address field then click Save and
Continue
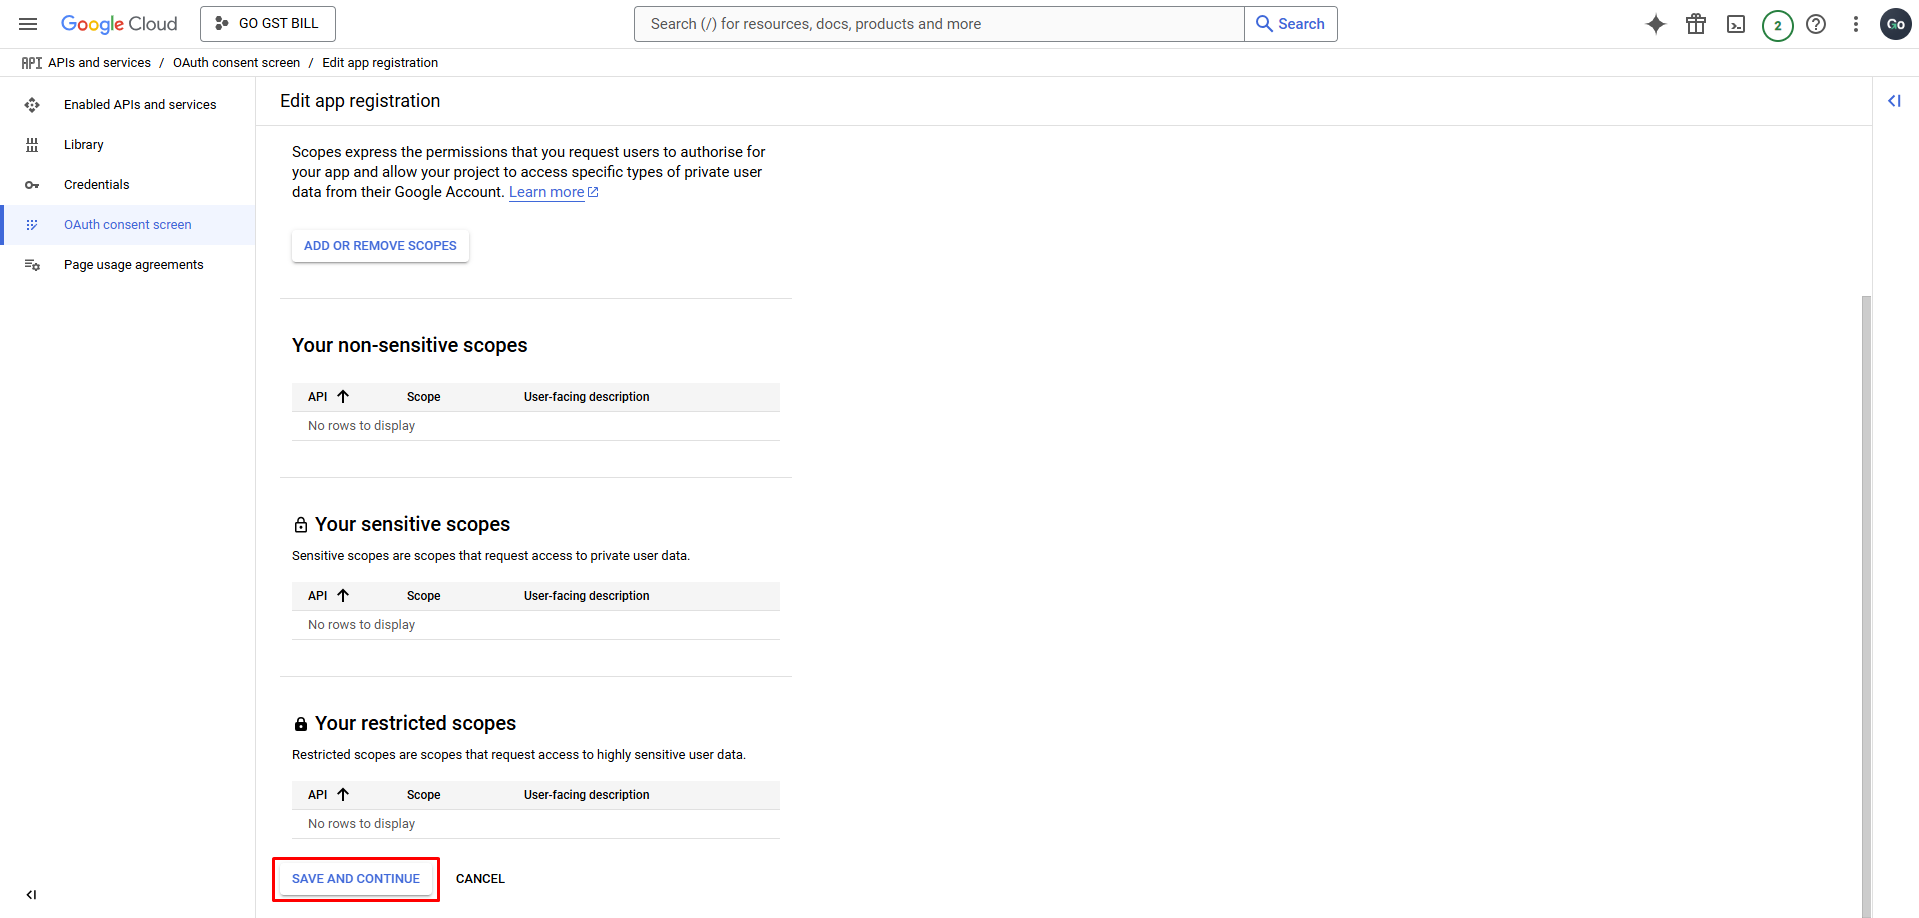
Step 13: On the Scopes page, click Save and Continue without adding any scopes
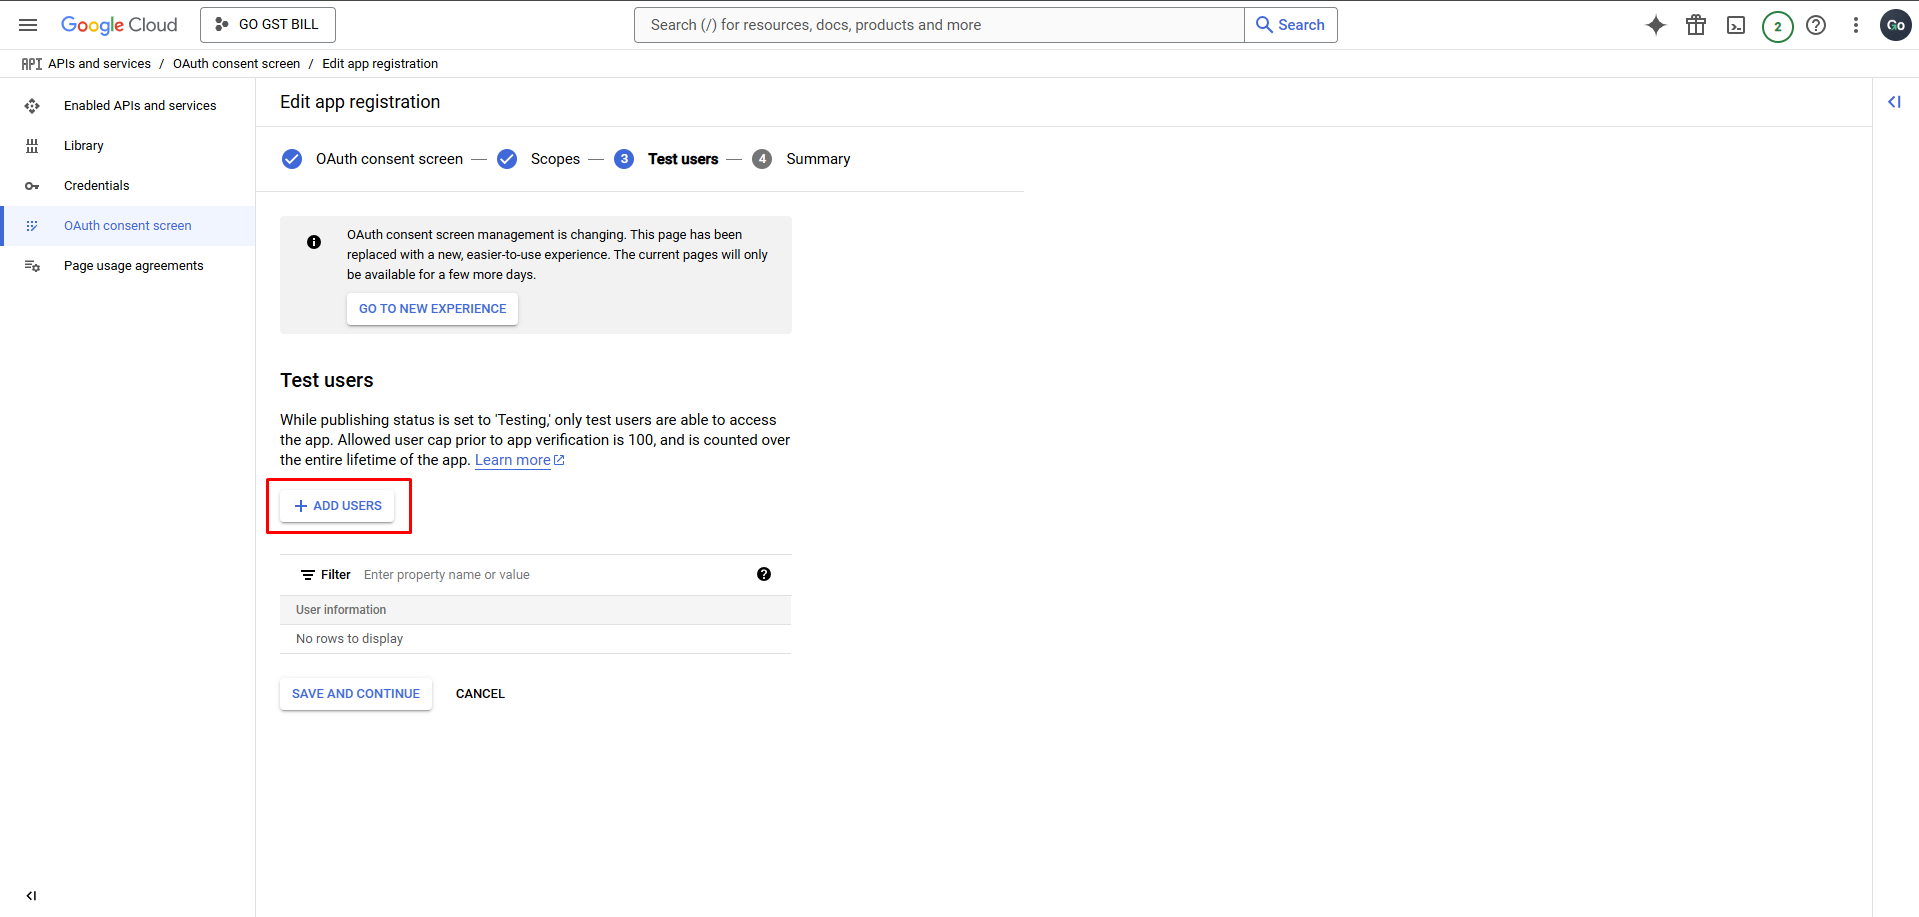
Step 14: In the Test Users section, click Add Users
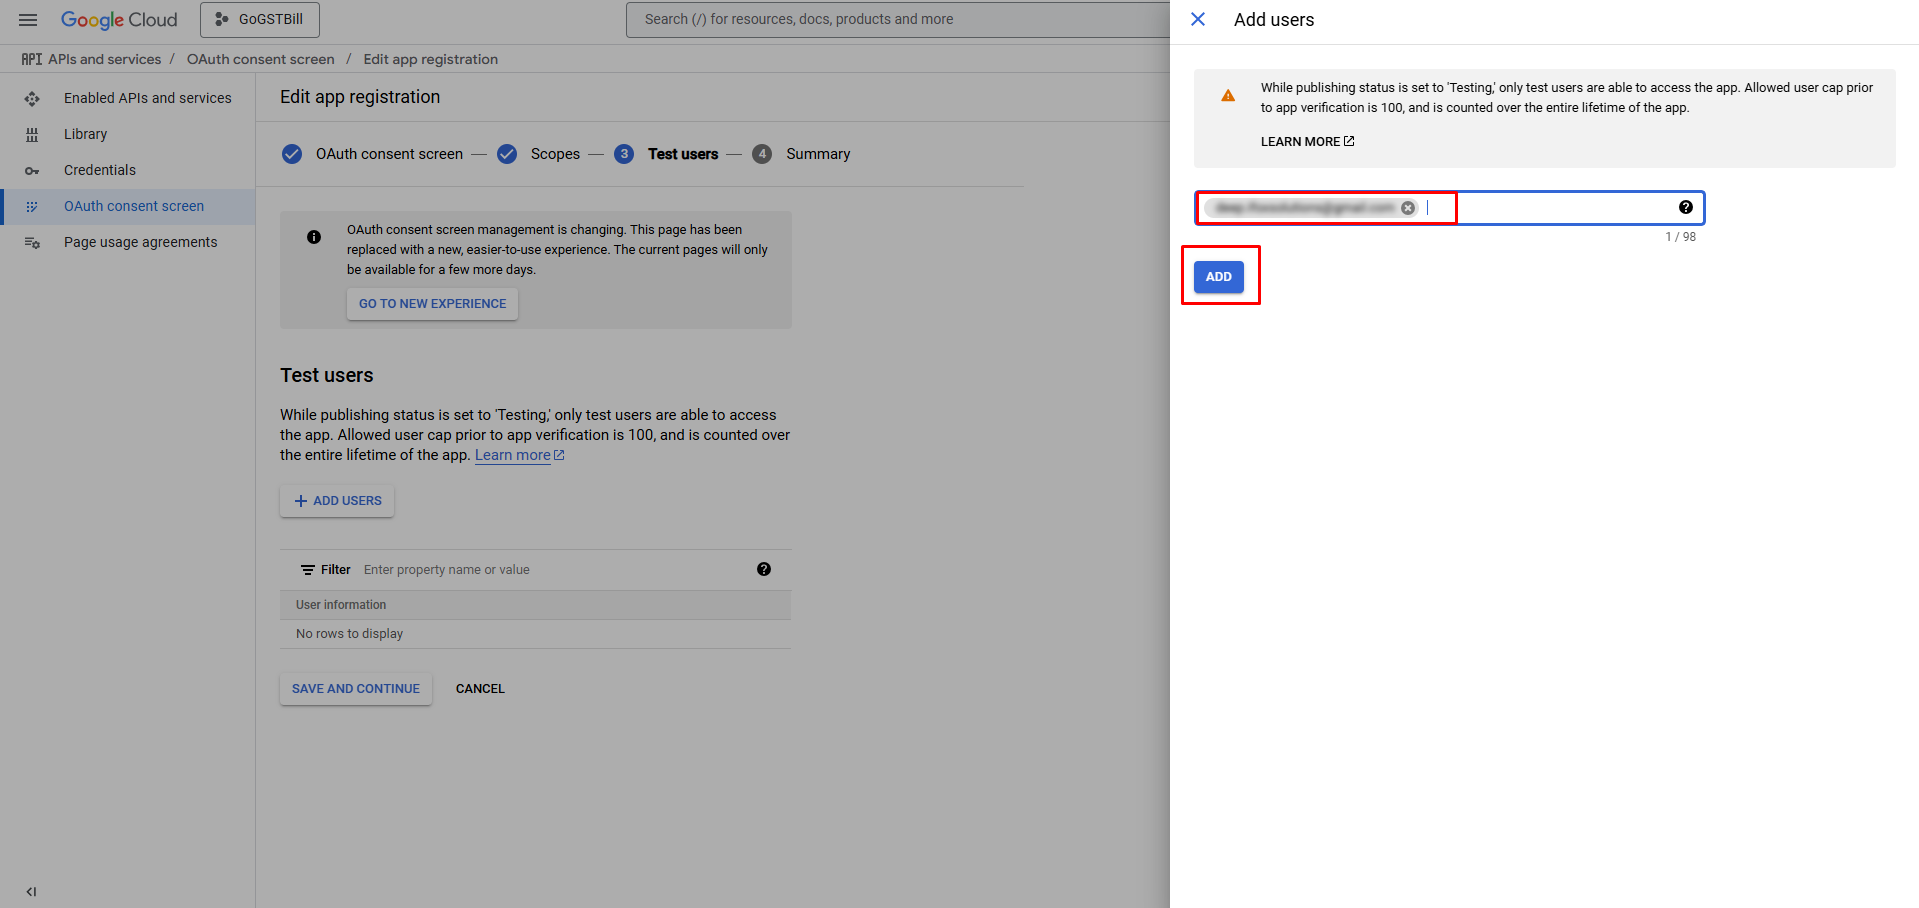
Step 15: Enter your Gmail account and click Add
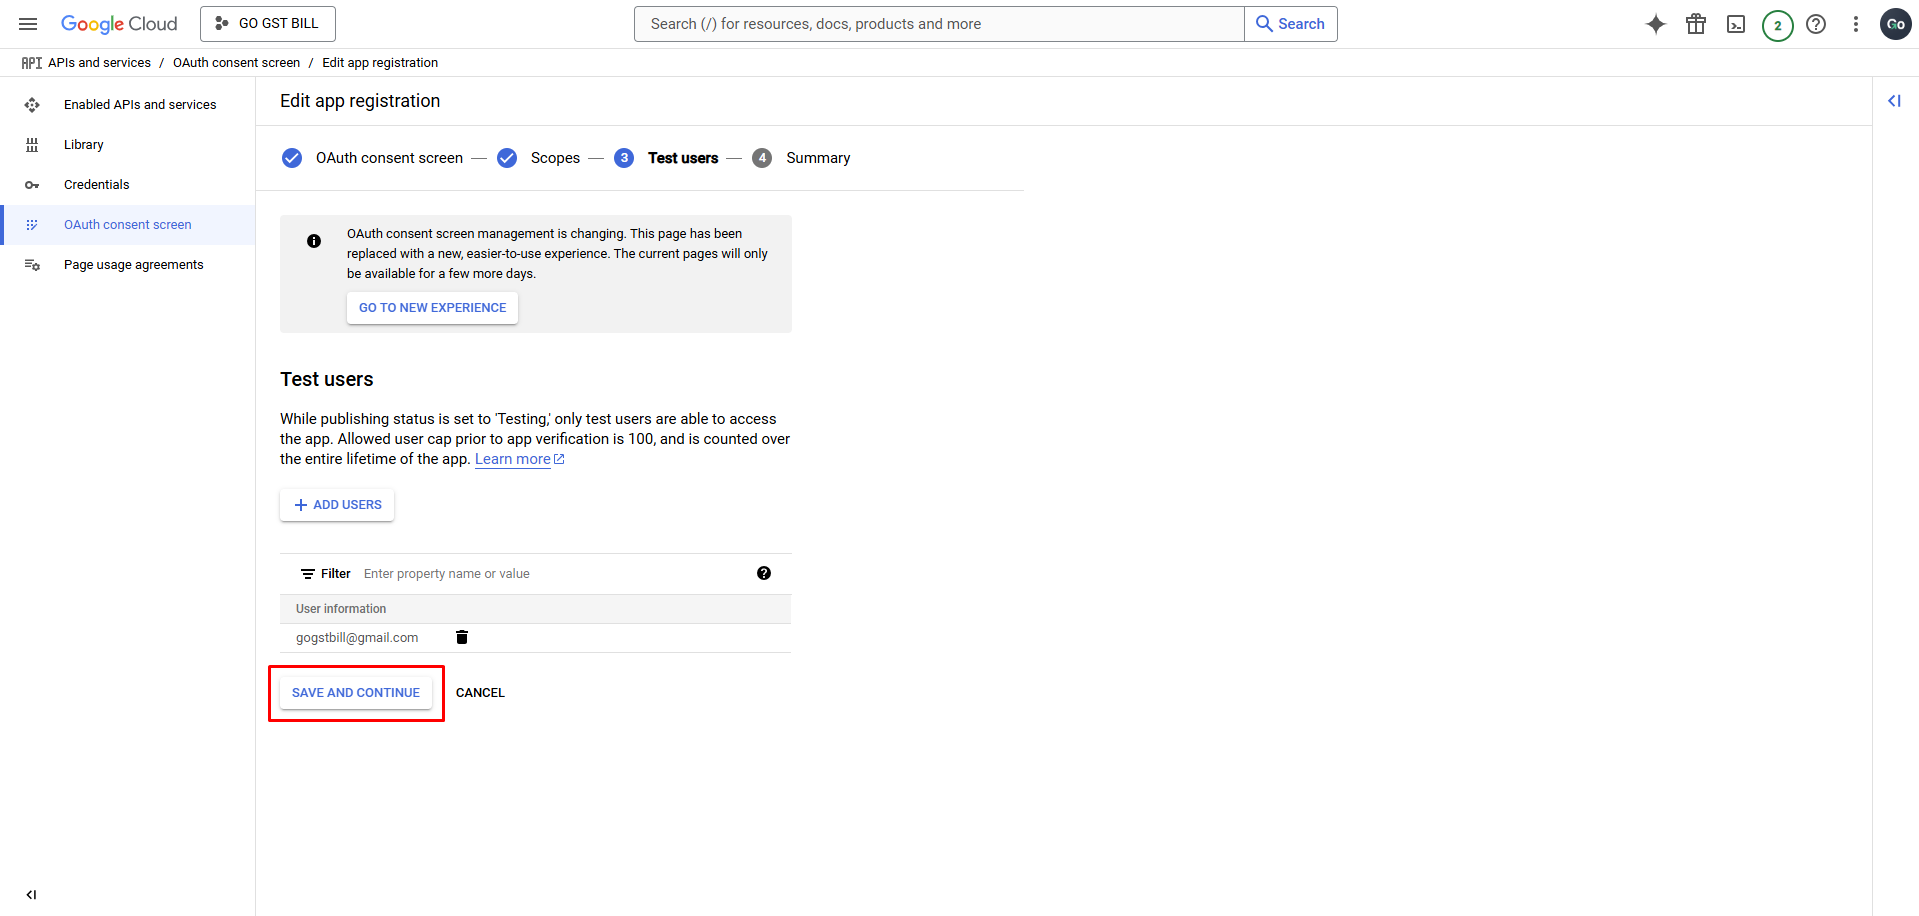
Step 16: Click Save and Continue to finish setting up the consent screen
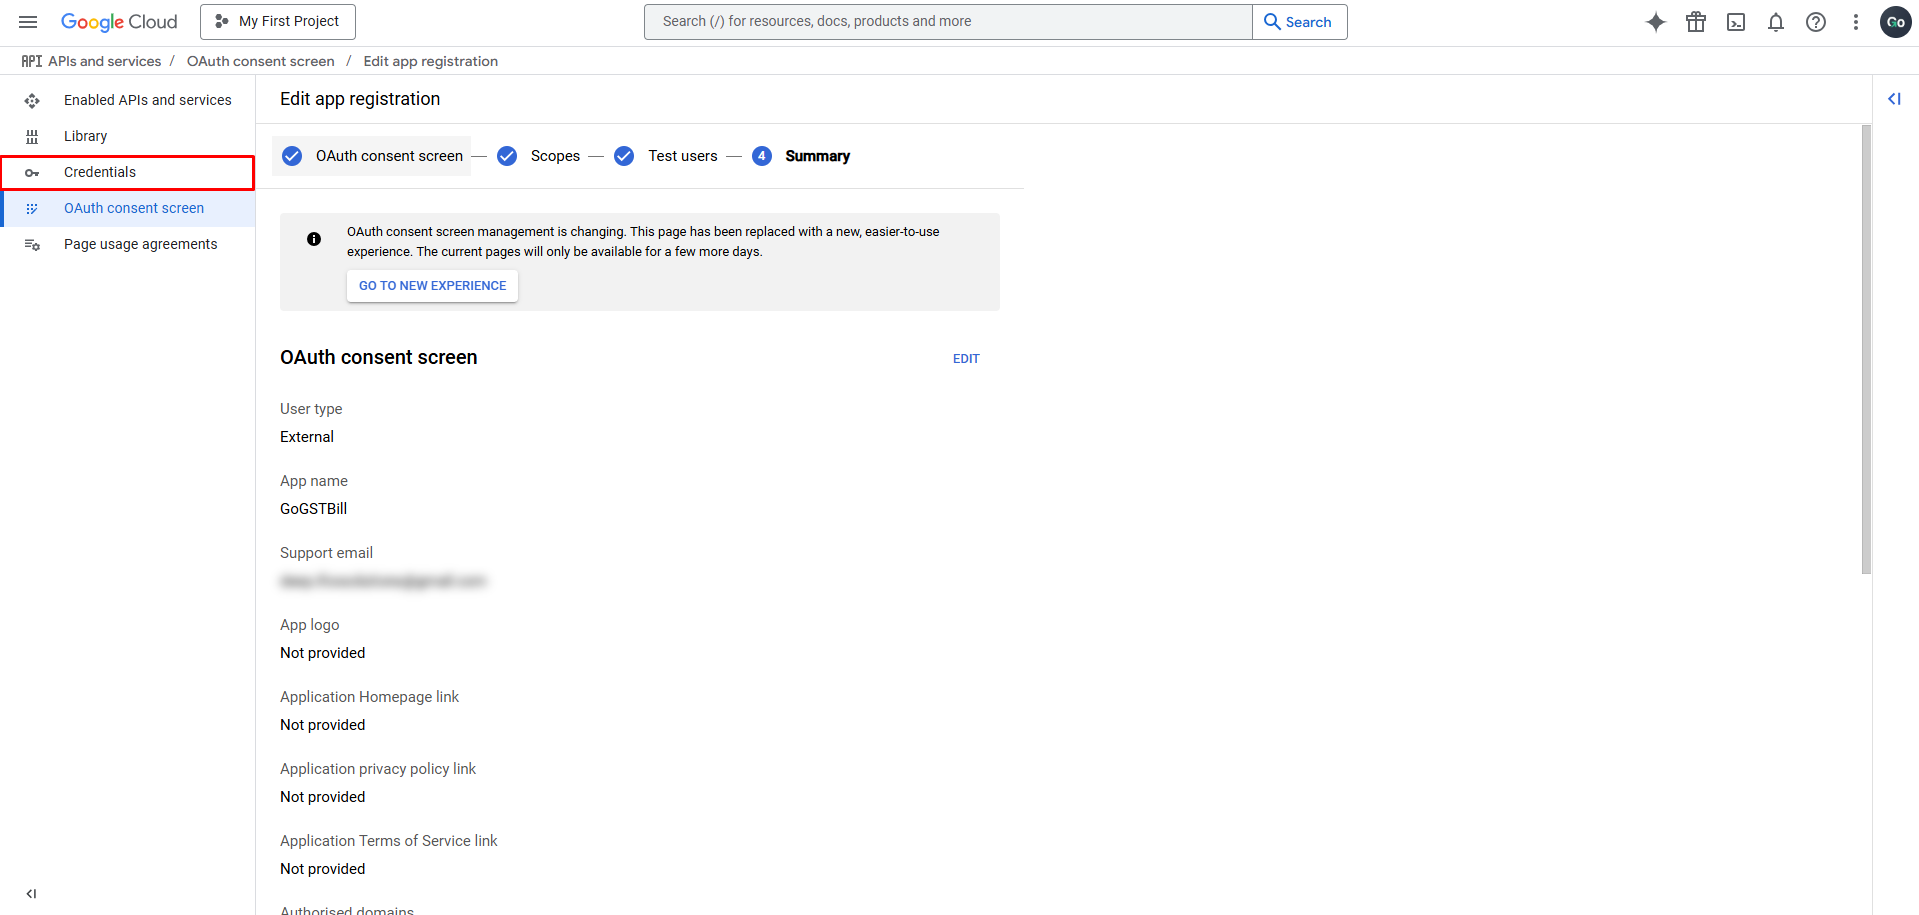
Step 17: From the sidebar, go to Credentials
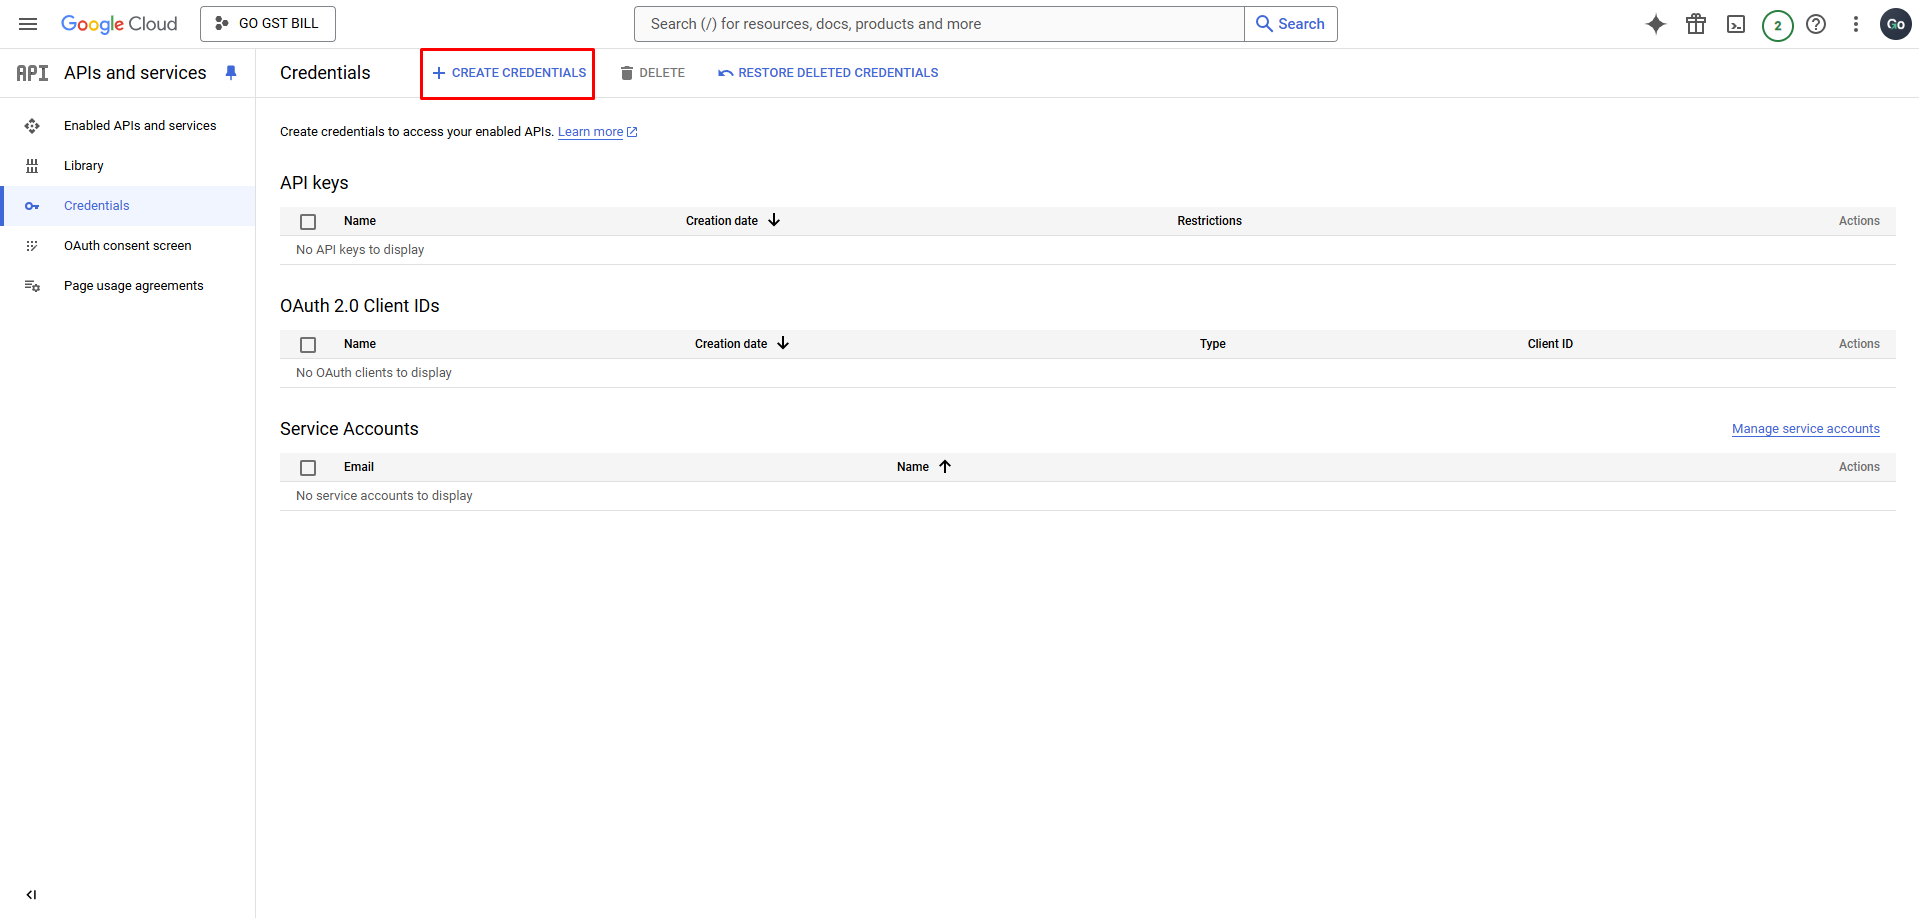
Step 18: Click the Create Credentials button at the top
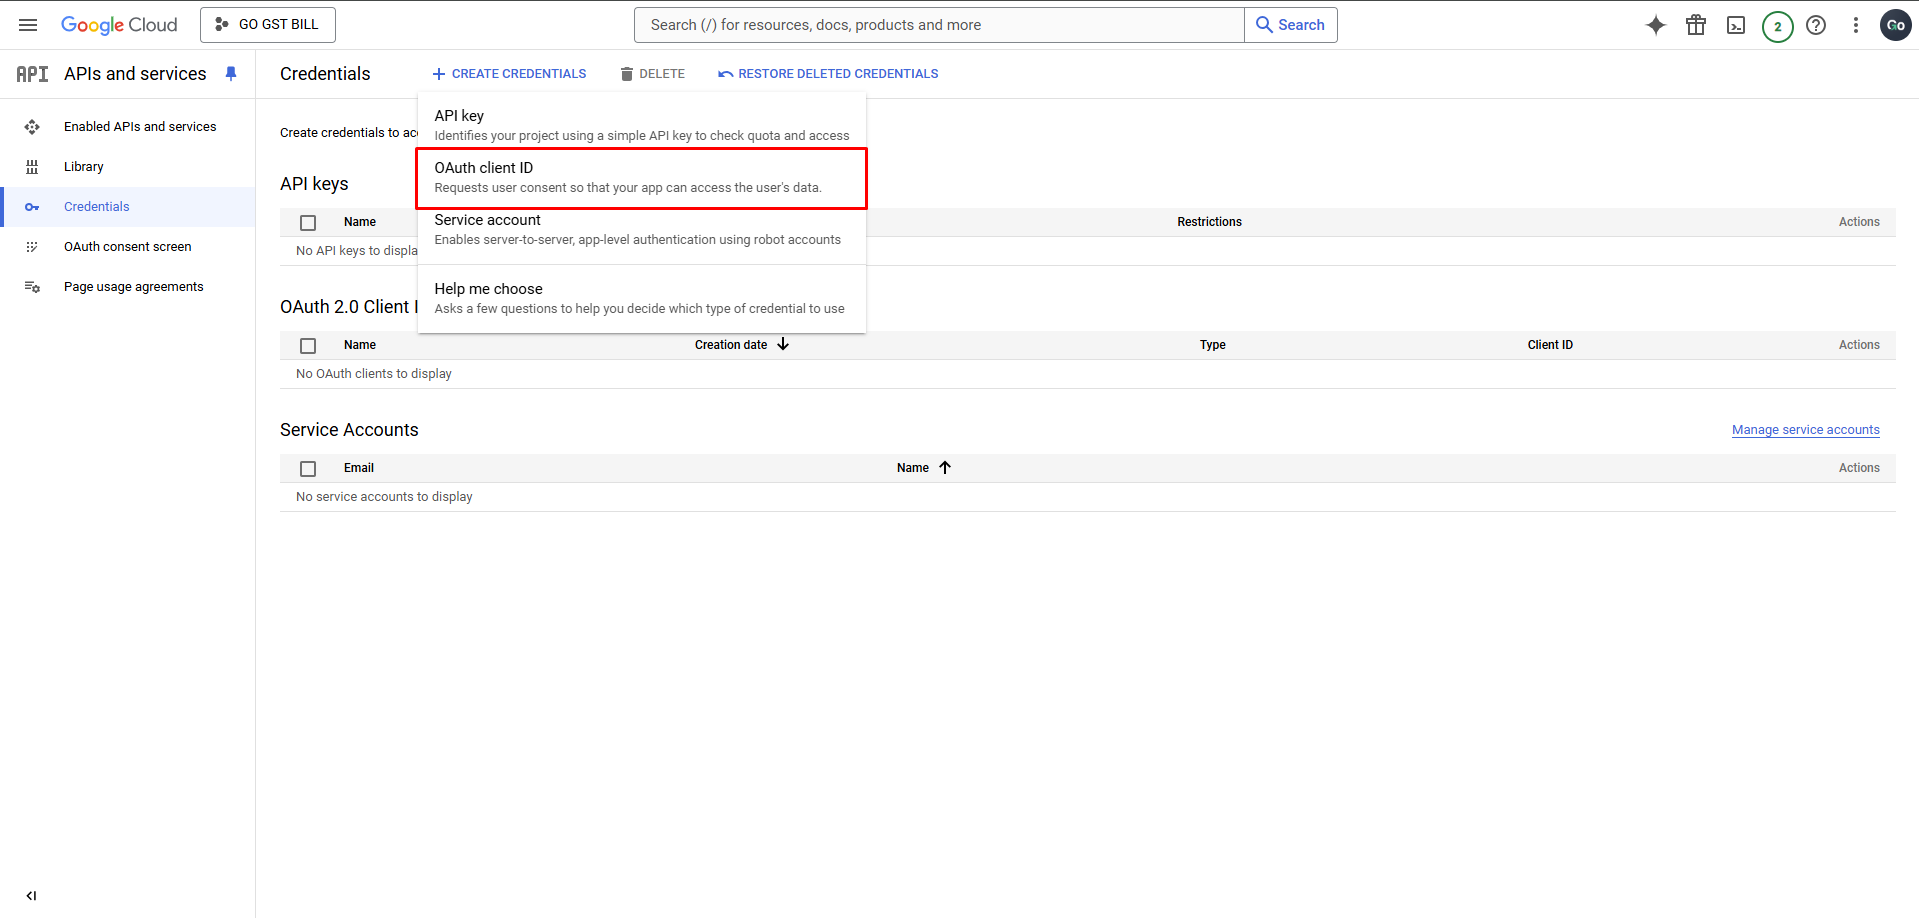
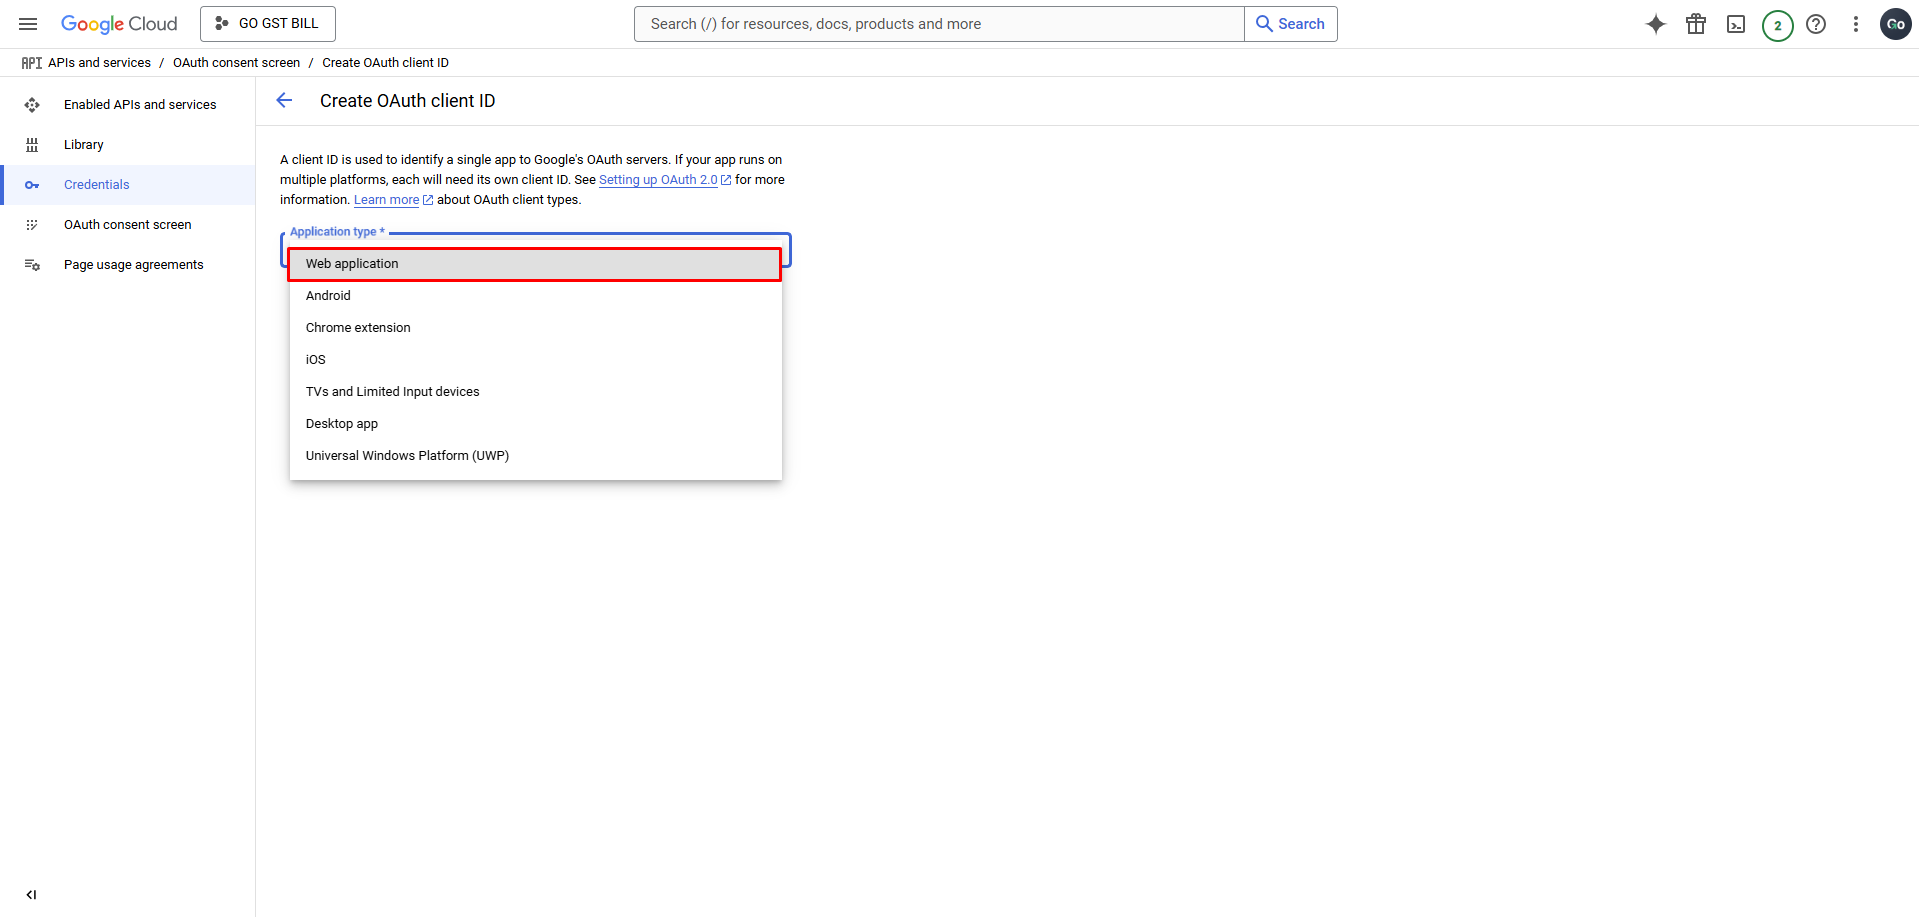
Step 19: Choose OAuth Client ID from the list
Step 20: Select Web Application as the application type
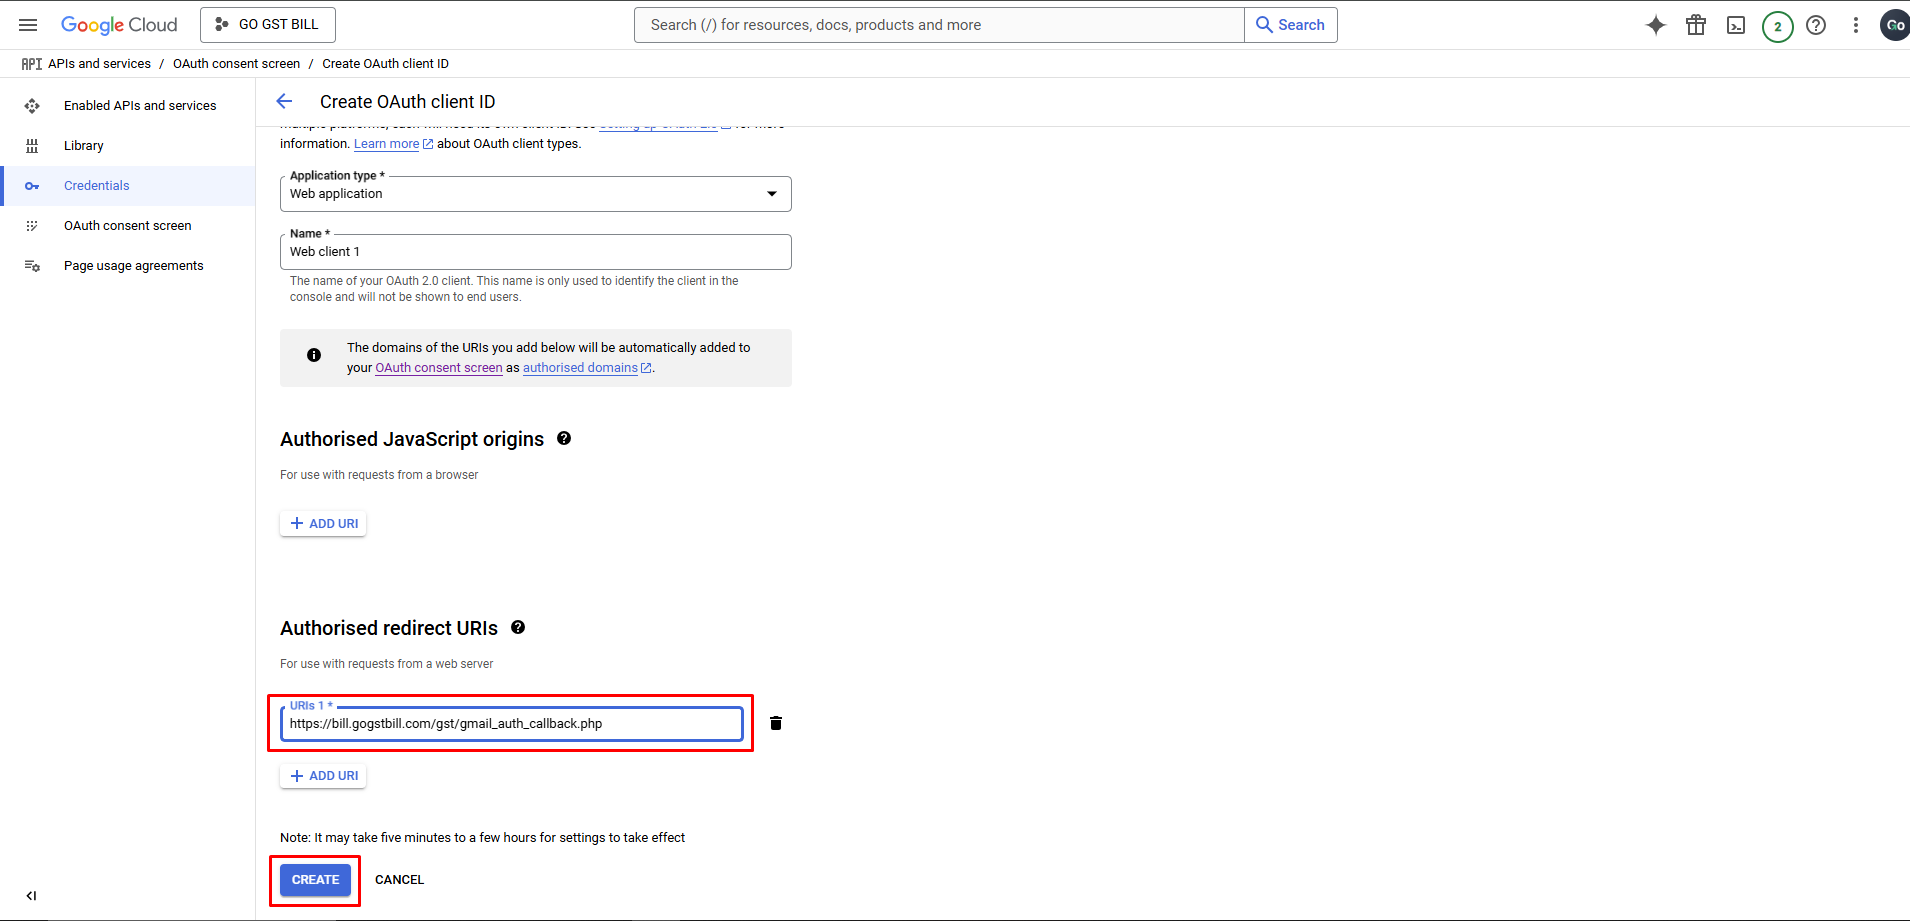
Step 21: Click Add URL button under the Authorized Redirect URLs section
Add this URL in URIs 1 field: https://bill.gogstbill.com/gst/gmail_auth_callback.php
Click Create to proceed
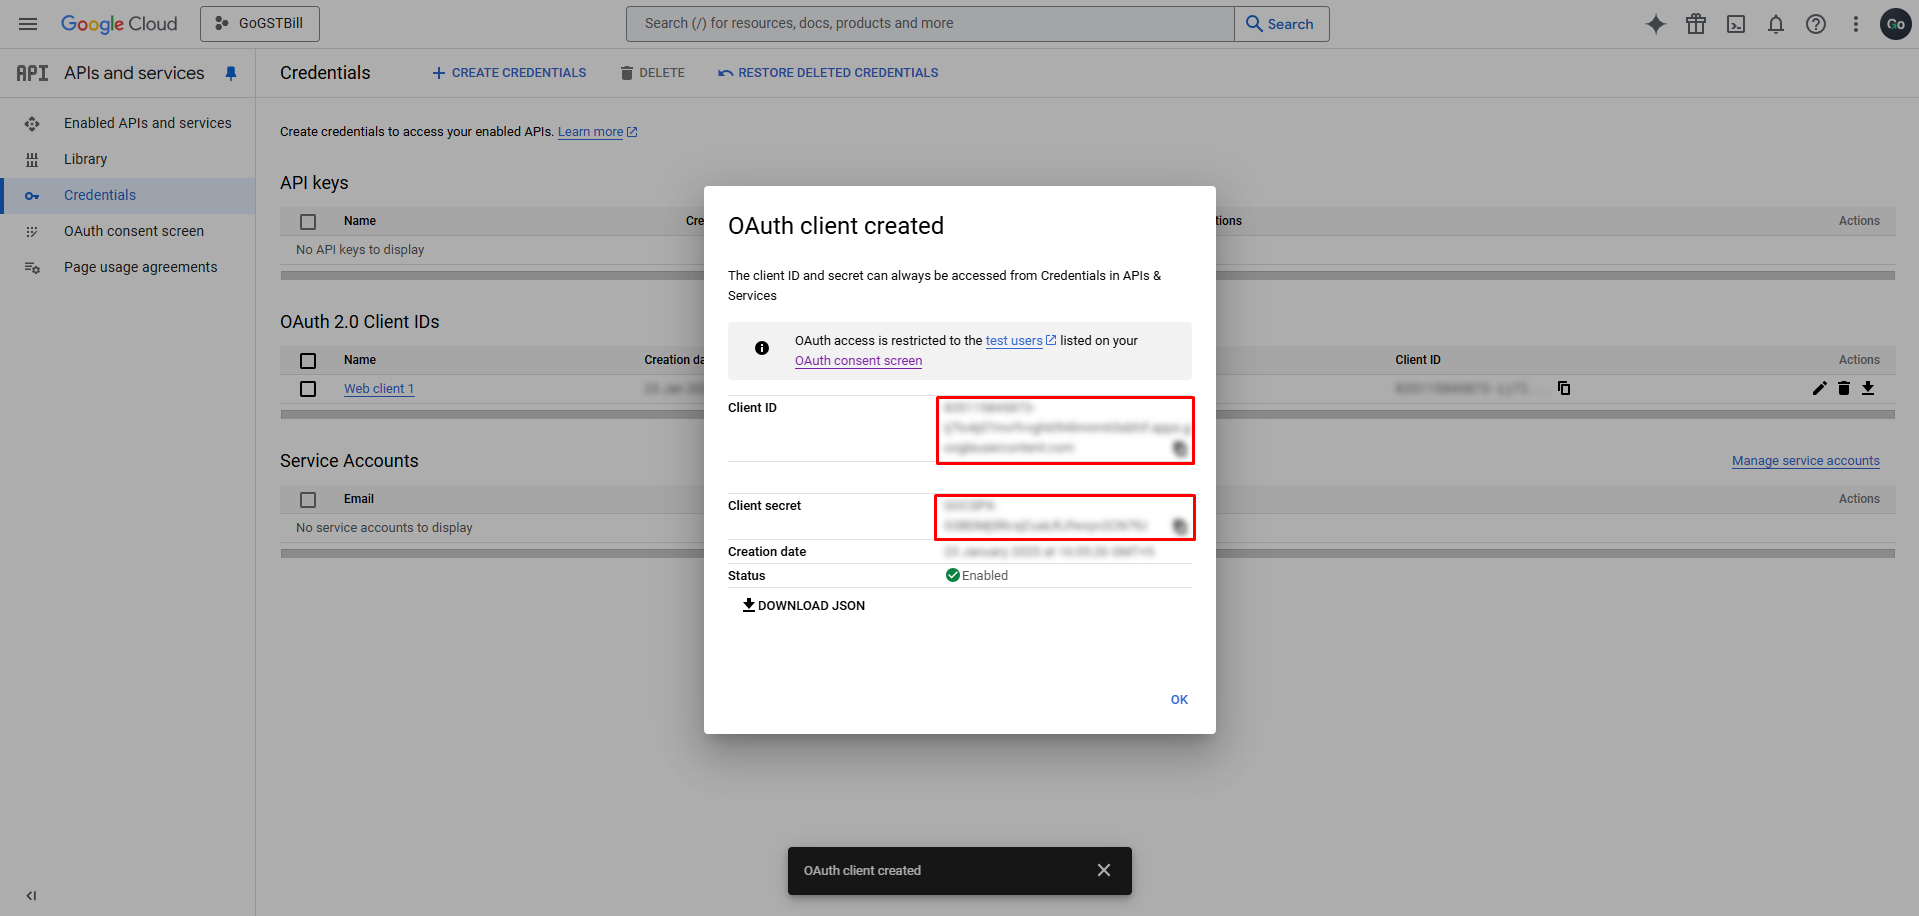
Step 22: Copy the Client ID and Client Secret generated for your application, you have to enter this value in Go GST Bill settings page
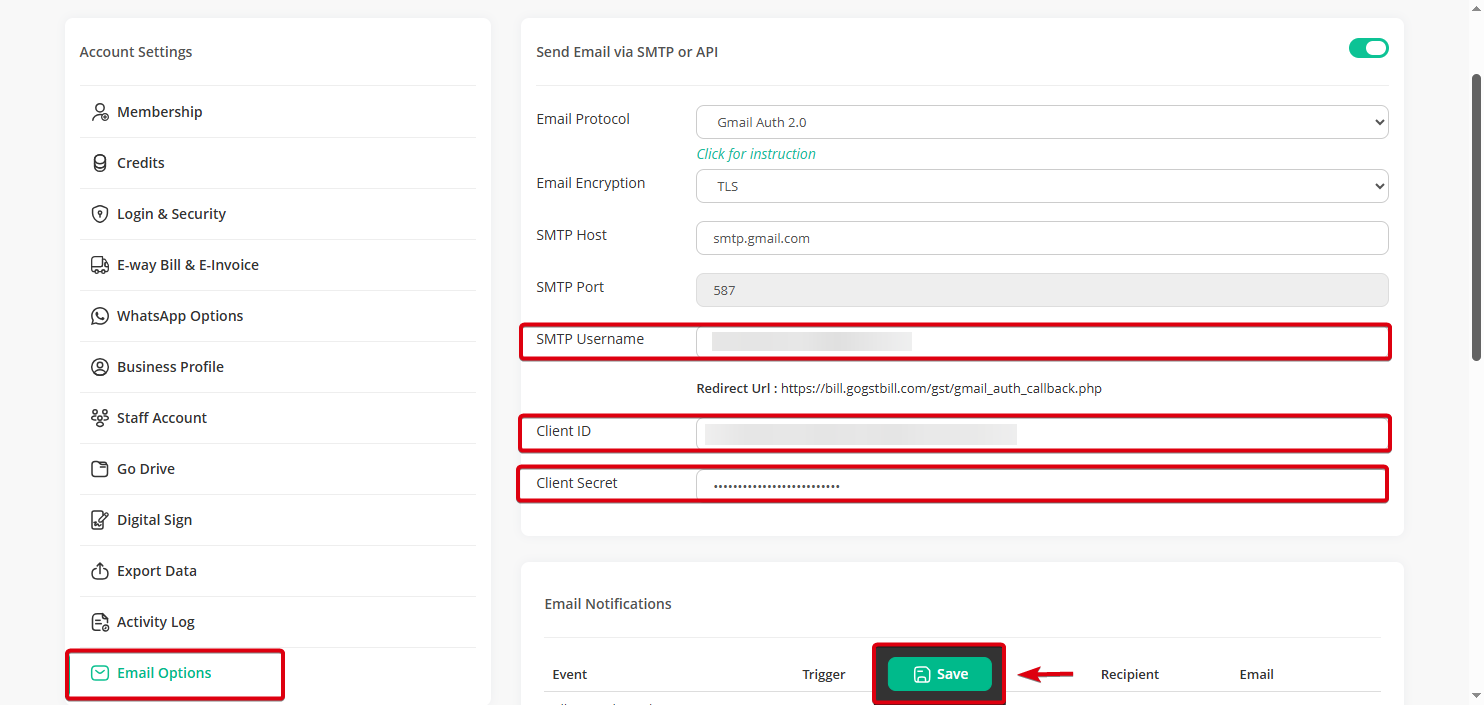
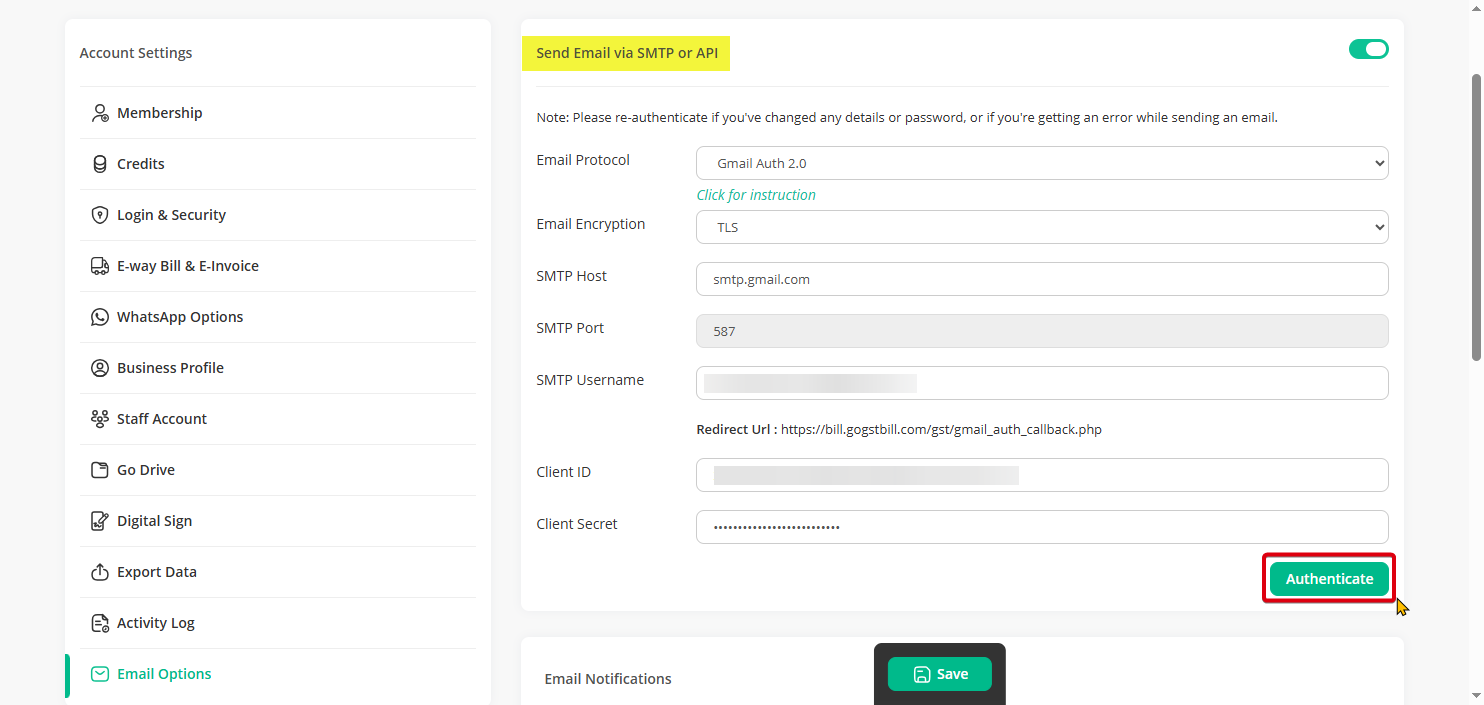
Step 23: Enter your Gmail address in SMTP Username and Client ID & Client Secret that we generated in last step and click on Save button
Step 24: Click on Authenticate button
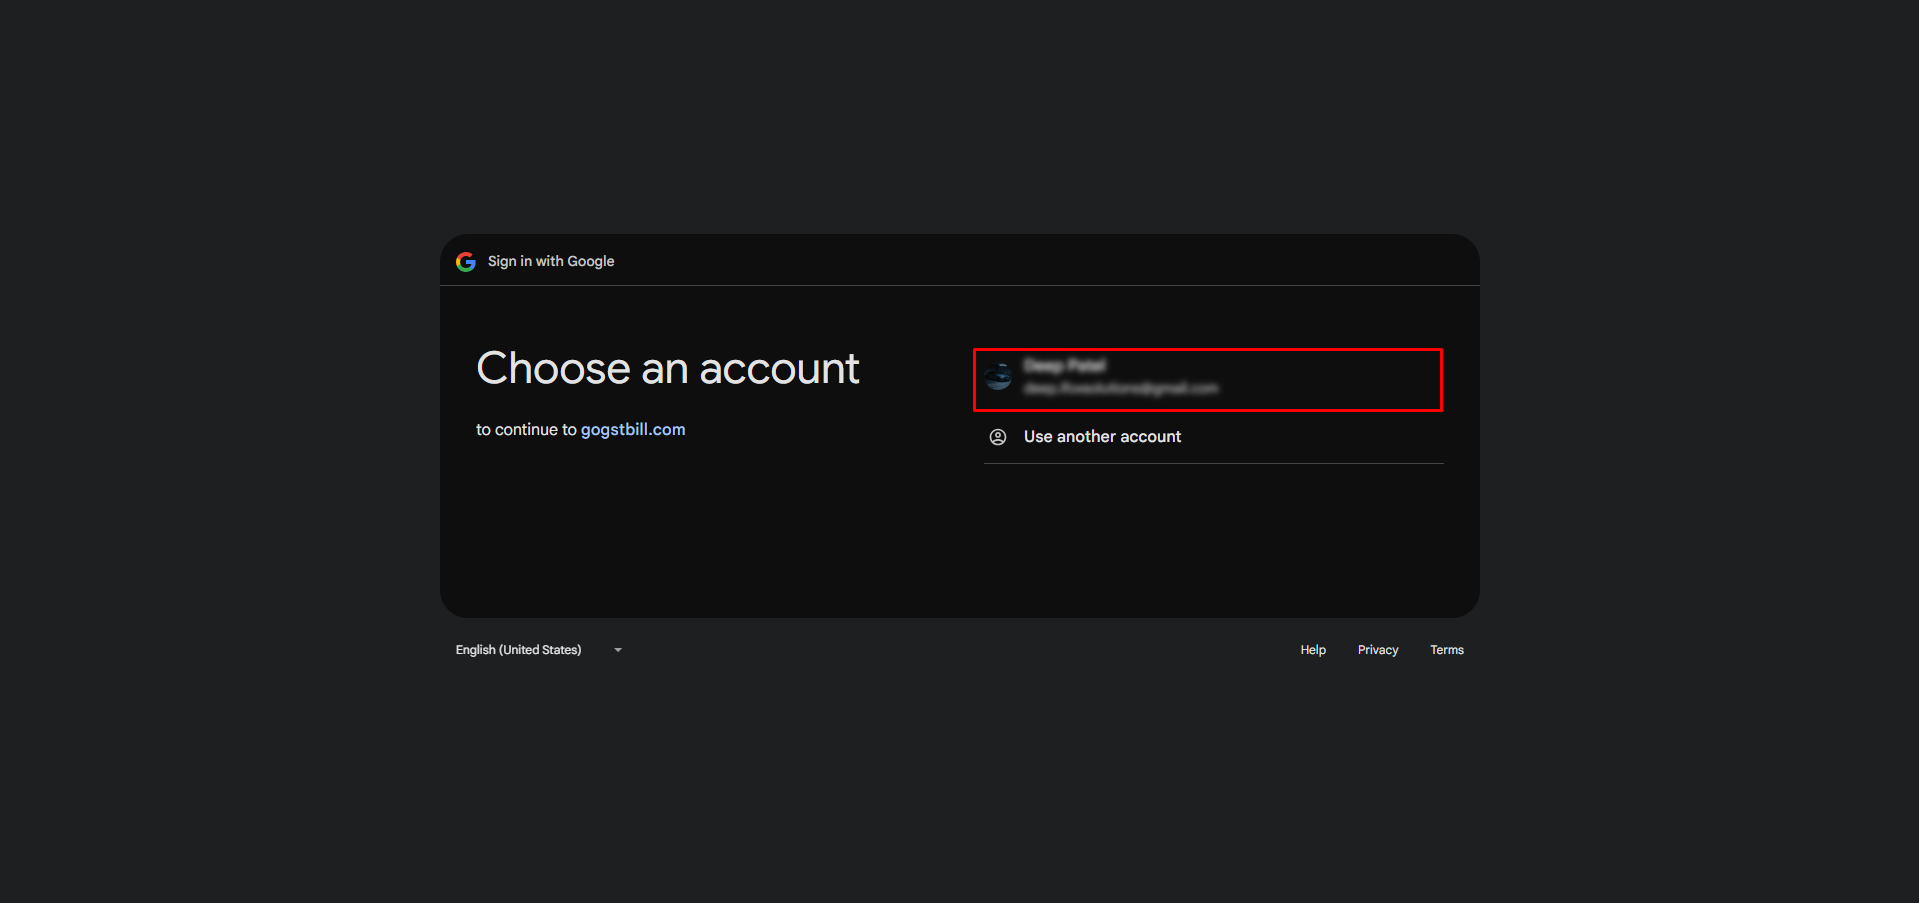
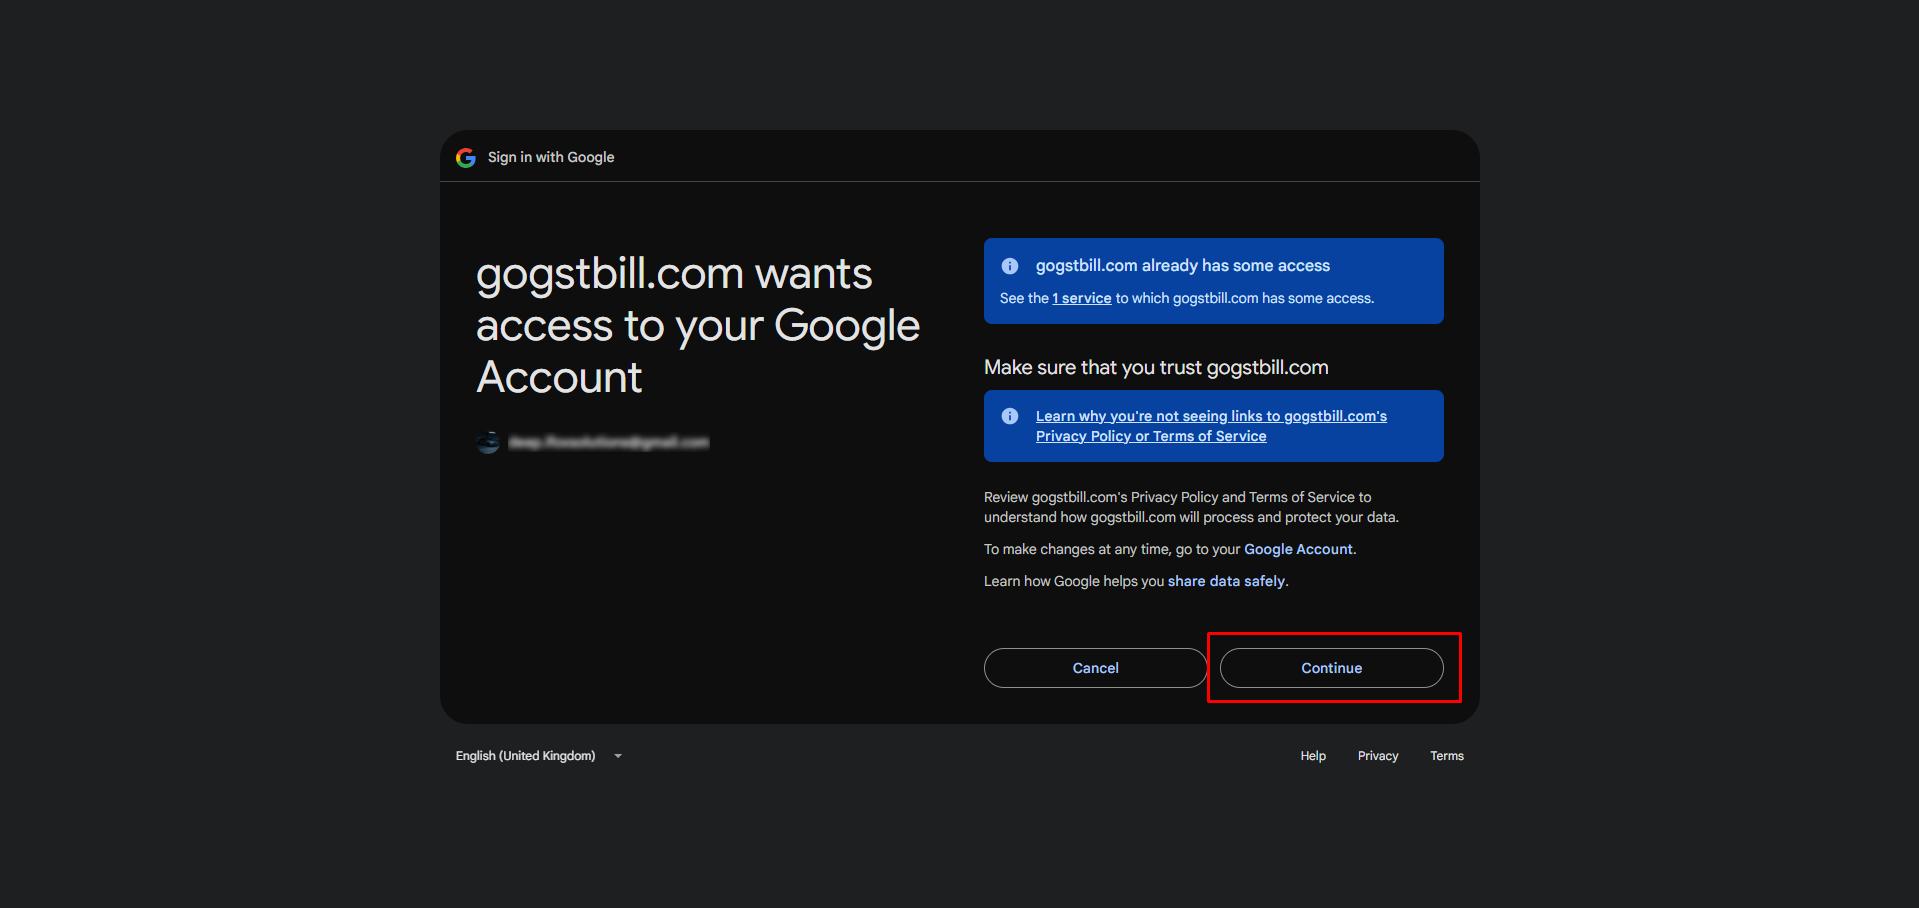
Step 25: Select your Gmail account & click on Continue button
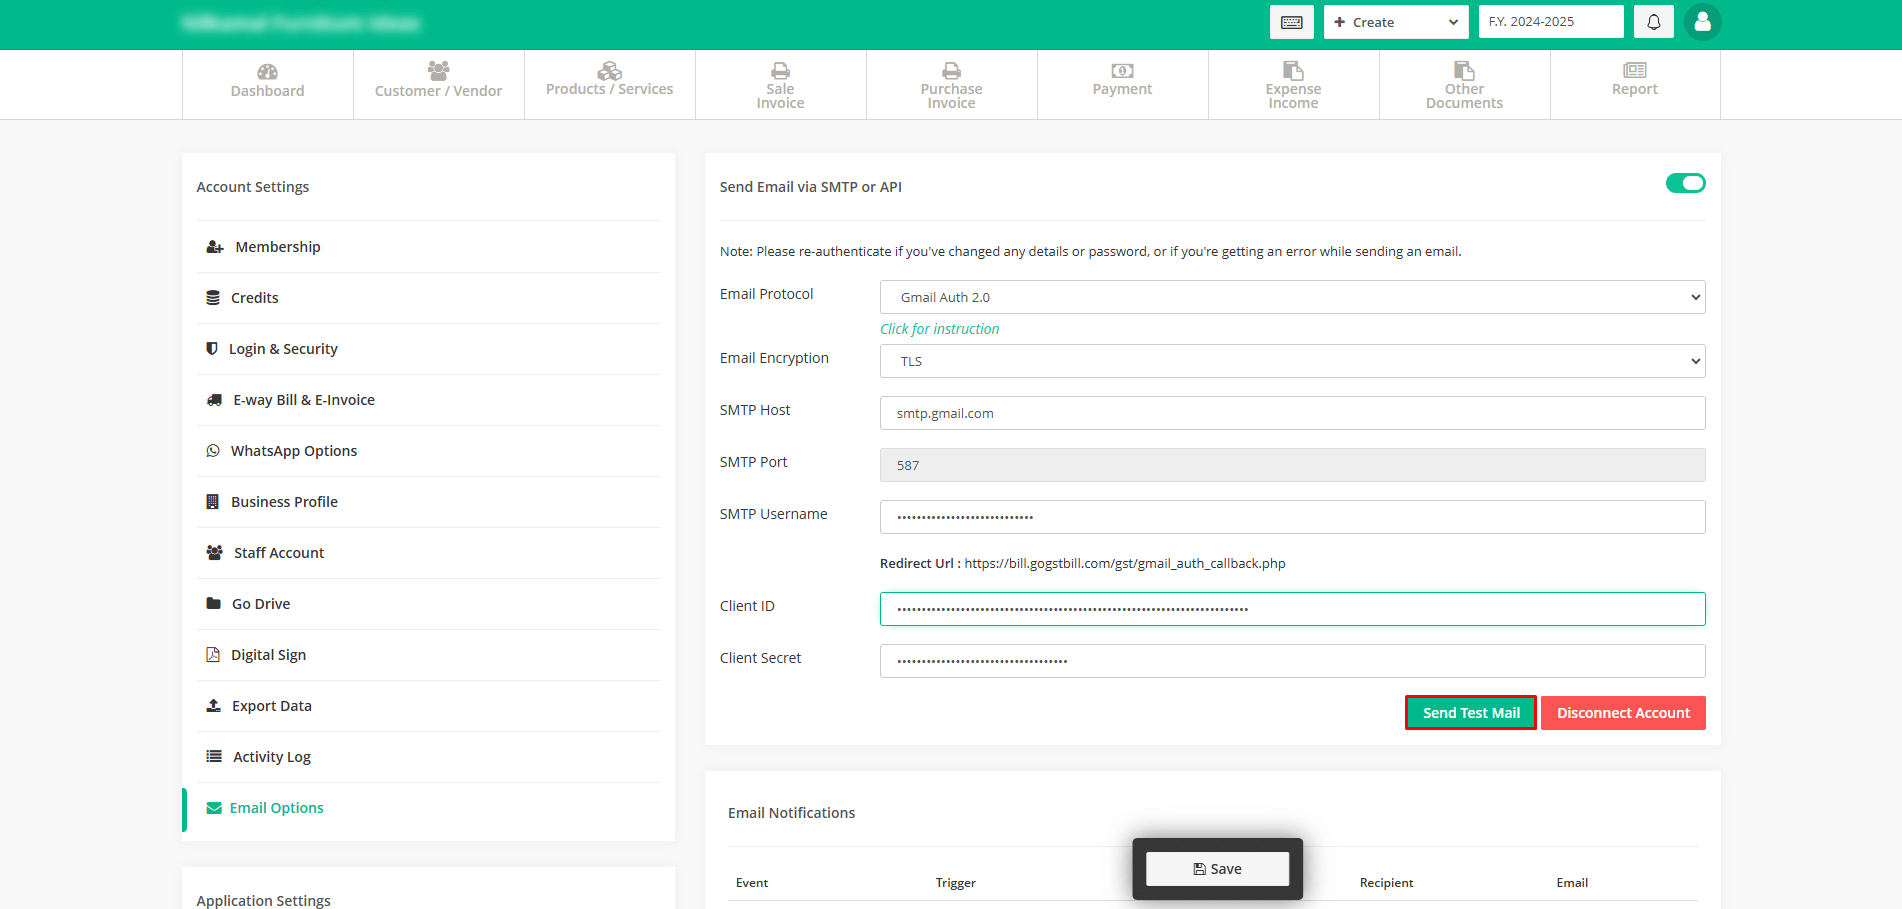
Step 26: If authentication is successful then it will show Disconnect Account button and you will see a button to Send Test Email.
Note: You have to repeat this process if you change Gmail account.