Step 1: Click on the “Profile” icon located in the top-right corner of the screen, and then select the “Settings” option from the dropdown menu.

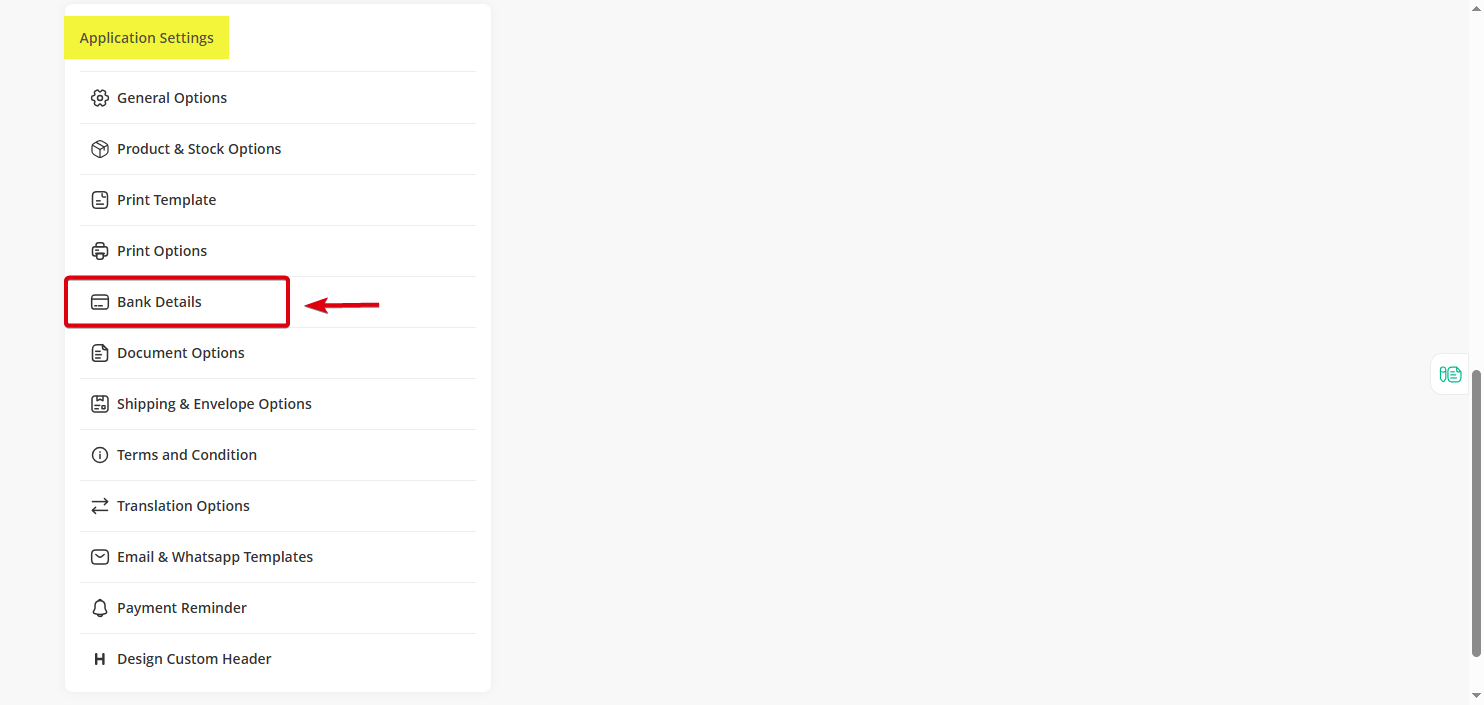
Step 2: In the “Application Settings” section, click on the “Bank Details” option.
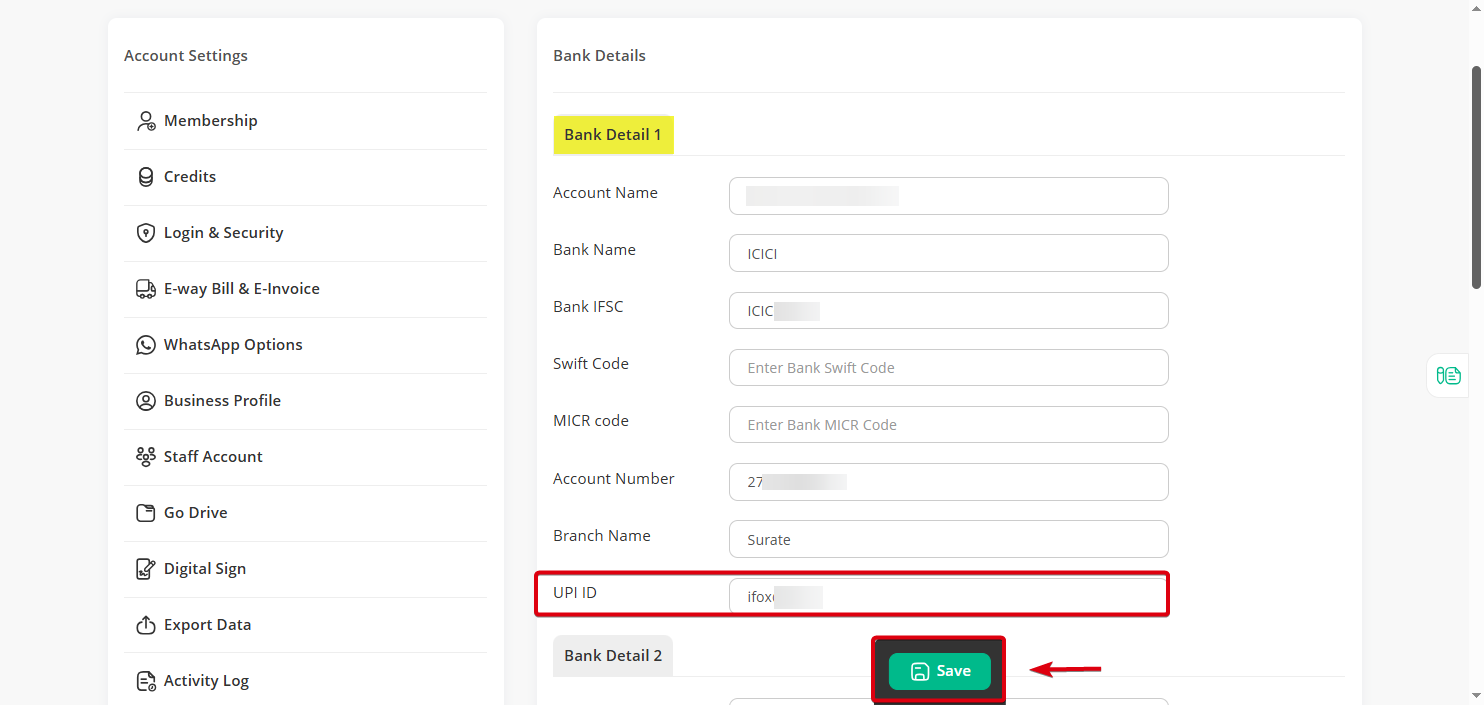
Step 3: On the Bank Details page, enter your UPI ID and click the “Save” button.
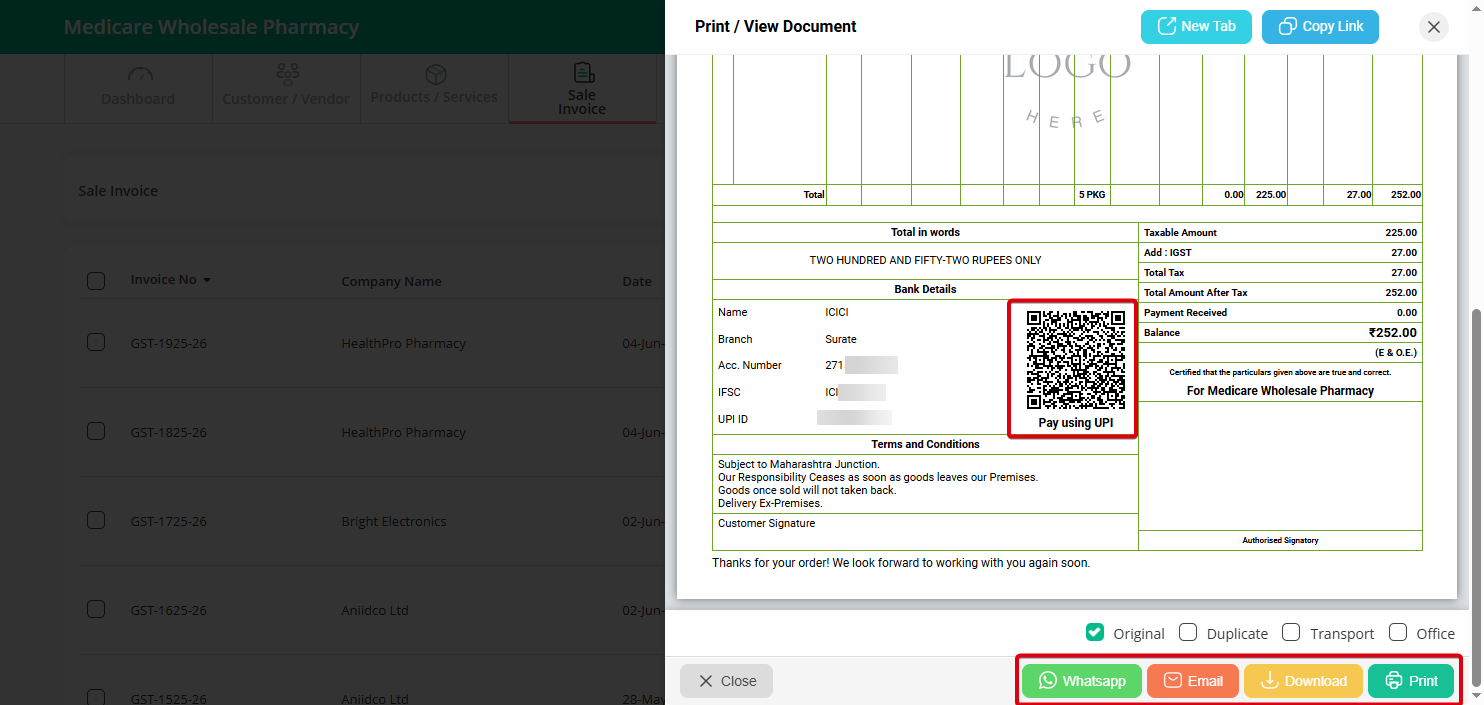
Once saved, the system will automatically generate a QR code, which will appear on all new invoices.
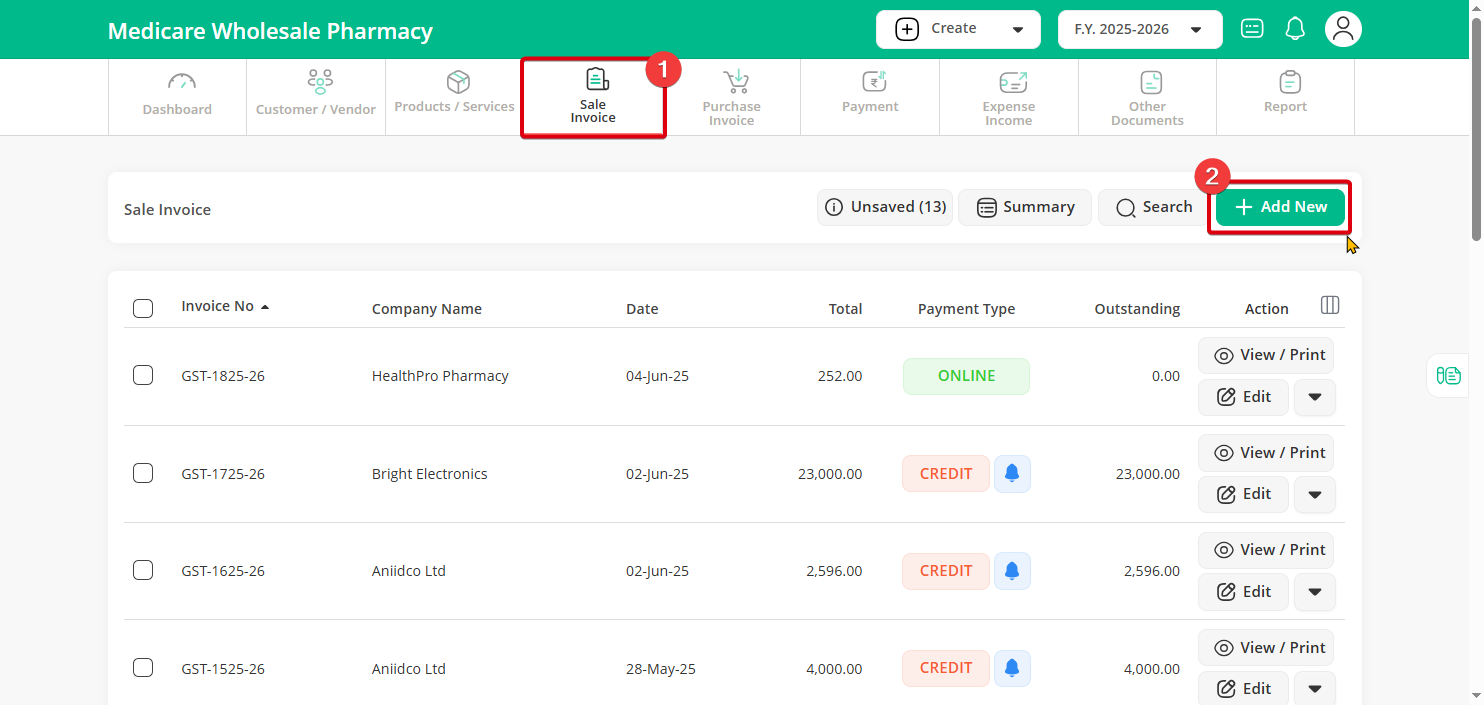
Note: If you want the QR code to appear on a previous invoice, Go to the “Sale Invoice” section and click on “Edit” for the desired invoice.
Re-select the bank name and click the “Save” button.
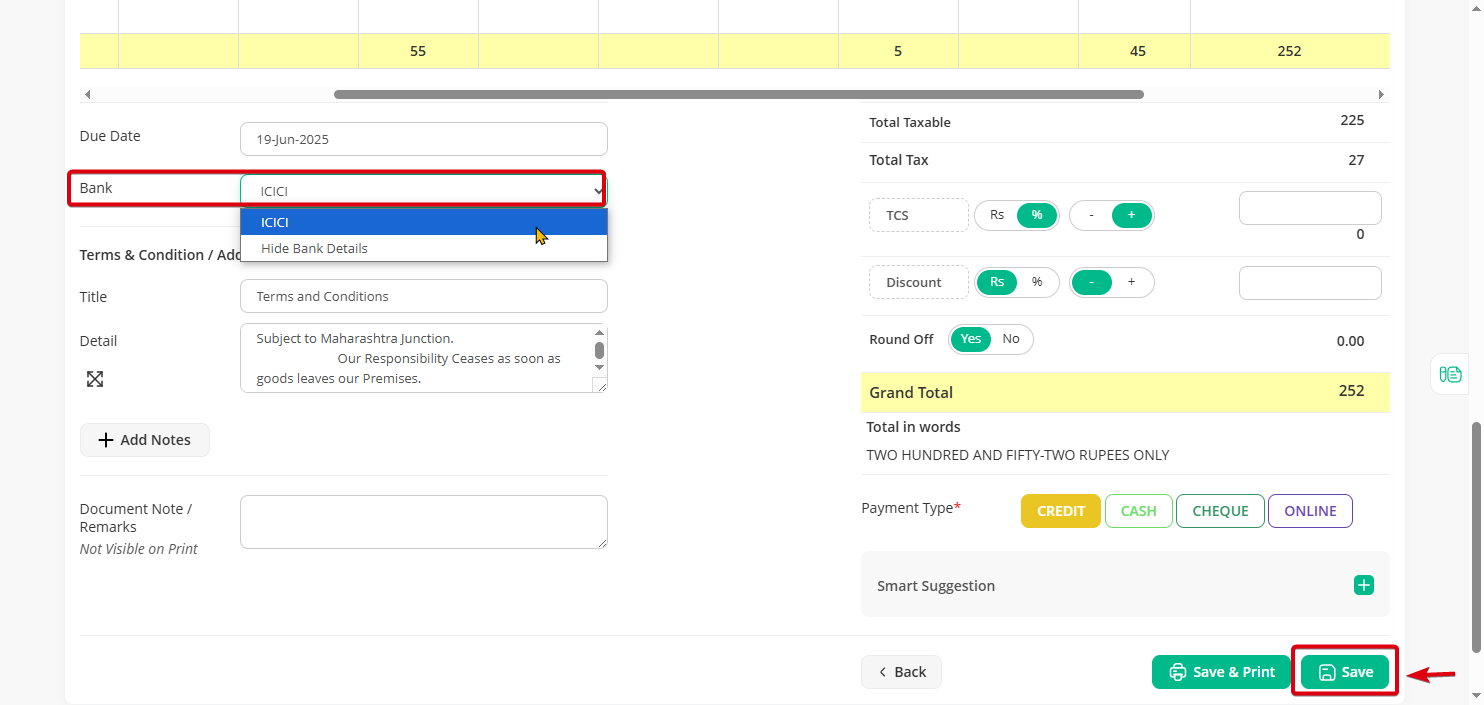
The QR code will now be updated and appear on the previous invoice as well.